
What Stain Type Should You Use for Exterior Pressure-Treated Lumber?
Pressure-treated lumber needs to dry out properly before staining, and the treatment chemicals can affect how evenly certain stain types absorb — checking moisture content first avoids a common, frustrating failure.
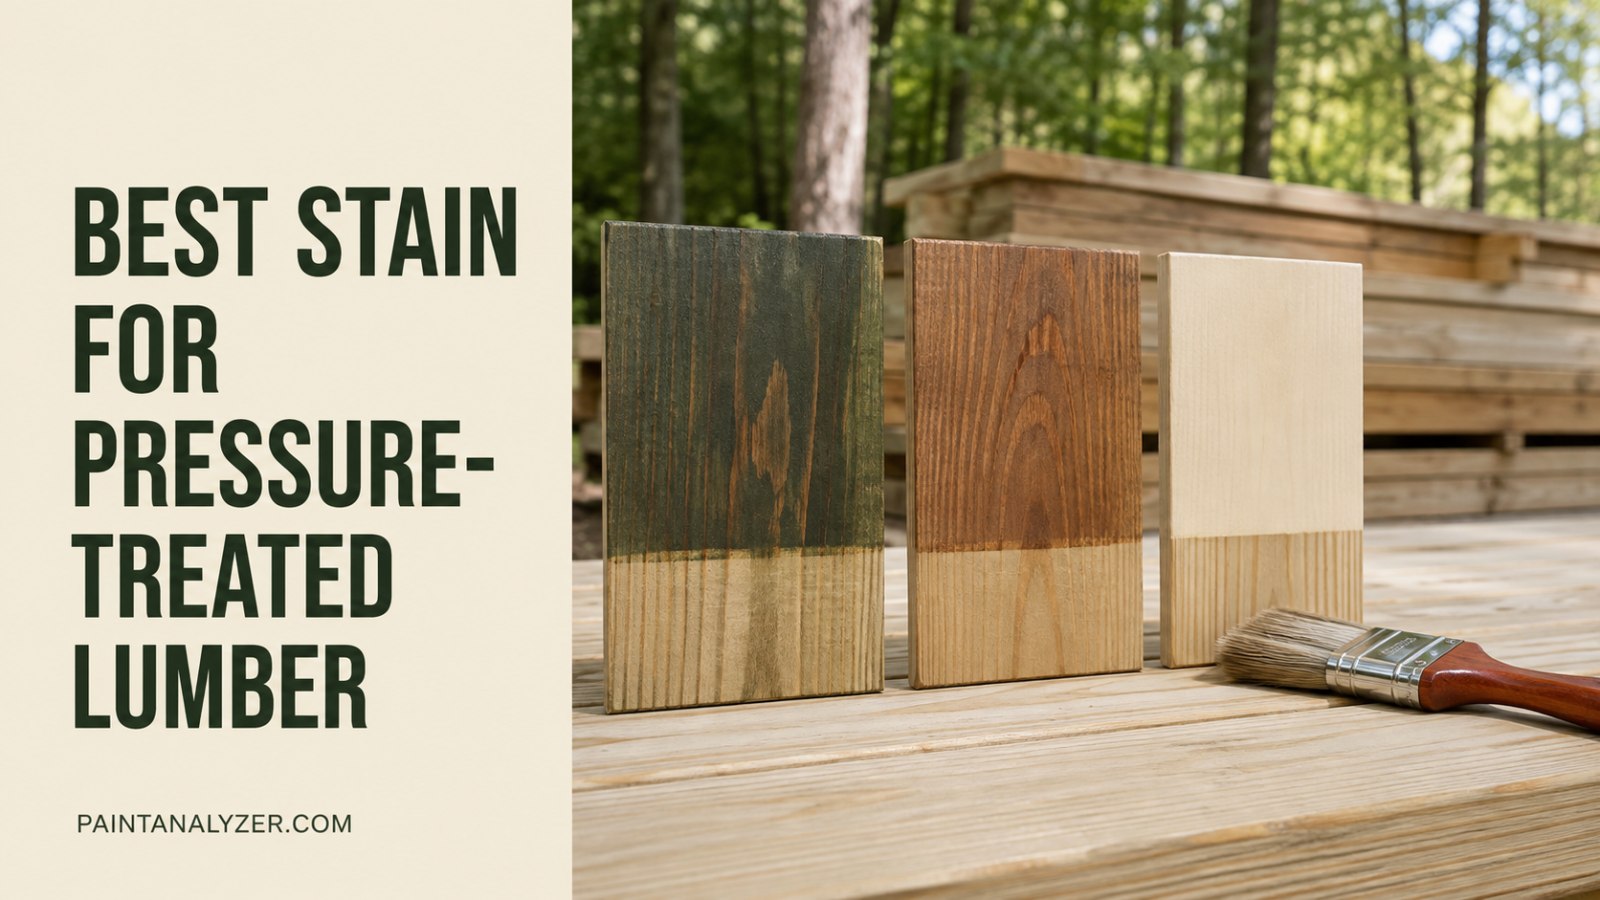
Pressure-treated lumber has its own specific staining considerations, driven mainly by the treatment chemicals used and the wood's often higher initial moisture content compared to standard untreated lumber — getting the timing and stain type right avoids a common, frustrating failure where stain doesn't absorb evenly or adhere well.
1. Let pressure-treated lumber dry out before staining
Freshly pressure-treated lumber often has a high moisture content from the treatment process — staining before it's adequately dried out (following the same water-bead test covered for deck restaining elsewhere on this site) is one of the most common causes of poor stain absorption and adhesion on this specific material.
2. Semi-transparent and solid stains both work, with different trade-offs
Semi-transparent stain lets more of the wood's natural grain and texture show through while still adding color and protection — solid stain offers more complete, opaque coverage, similar to paint, useful for hiding the sometimes greenish or brownish tint pressure-treated lumber can have from the treatment chemicals.
3. Choosing an oil-based vs. water-based stain
Both oil-based and water-based stains can work well on properly dried pressure-treated lumber — oil-based stains often penetrate slightly deeper into the wood grain, while water-based stains generally have lower odor and easier cleanup, making the choice more about these general trade-offs than anything specific to pressure treatment.
4. Checking for compatibility with the specific treatment chemical
Modern pressure treatment chemicals (like ACQ, which largely replaced older CCA treatment) can interact somewhat differently with certain stain formulations — checking that a chosen stain product is specifically rated as compatible with modern pressure-treated lumber avoids a chemical incompatibility issue.
5. Testing stain absorption in an inconspicuous area first
Testing the chosen stain on a small, hidden area of the actual lumber confirms both that the wood has dried sufficiently and that the specific stain absorbs and looks as expected on this particular treated wood, before committing to the full project.
6. Applying following standard staining technique
Once the wood is properly dried and a compatible stain chosen, application follows standard exterior wood staining technique (covered throughout this site) — working with the grain, in manageable sections, following the product's specific application and dry-time guidance.
7. Sealing and ongoing maintenance
Following the same maintenance schedule covered for exterior wood staining generally, periodic reapplication as the stain wears from weather exposure keeps pressure-treated lumber structures (decks, fences, playground equipment) protected and looking good over their working life.
Guides are researched against primary documentation and observable evidence. Archived material is rewritten, checked, and substantially improved before publication.