
Should You Paint Trim Before or After Installing It?
Priming and a first coat before installation, with a final coat after, gives the most complete coverage — fully painting before installing skips coverage on the back and edges that matter for moisture protection.
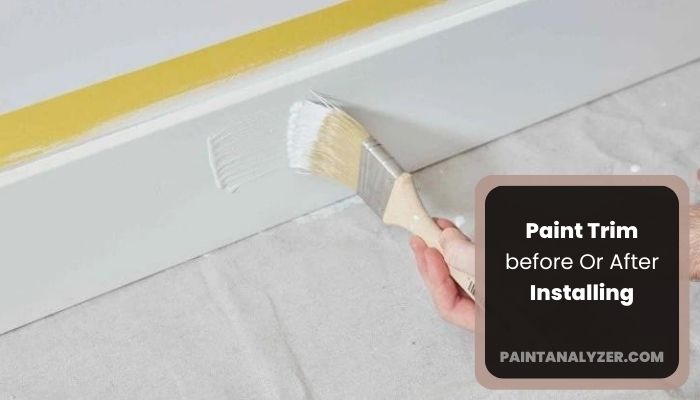
Neither "fully paint everything before installing" nor "install everything, then paint" alone is the complete answer — a hybrid approach, priming and applying a first coat before installation with a final coat afterward, is what professional trim carpenters commonly use for the most complete coverage and cleanest final result.
1. Why priming before installation matters
Priming all sides of trim — including the back and edges that become inaccessible once installed against a wall — seals the wood evenly on every surface, which matters for moisture protection and preventing warping, following the same "seal every surface, including hidden ones" principle covered for MDF and marine plywood.
2. A first coat before installation speeds up the overall process
Applying at least one coat of the final paint color before installation, while the trim pieces are flat and easily accessible (on sawhorses, for instance), is generally faster and produces more even coverage than trying to paint the same piece after it's installed at an angle against a wall.
3. Why a final coat after installation is still necessary
Installation inevitably introduces nail holes, minor gaps needing caulk, and small dings from handling — these need filling, caulking, and touch-up regardless of how much pre-installation painting was done, and a final coat after installation, once these repairs are made, gives a seamless, fully finished result rather than visible unpainted patches at every nail hole.
4. Fully painting before installation skips important coverage
Painting only before installation, with no coat afterward, leaves nail holes, caulk lines, and any installation damage unpainted — these show as small unfinished spots throughout the installed trim, undermining the clean look priming and pre-painting was meant to achieve.
5. Installing unpainted trim and painting entirely afterward — the least efficient approach
Painting trim only after full installation means working at awkward angles against the wall, and the trim's back and edges (sealed by pre-installation priming in the hybrid approach) remain unsealed — a workable approach, but less efficient and less protective than the hybrid method.
6. The recommended process, step by step
1. Prime all sides of the trim before installation
2. Apply the first topcoat before installation, while flat and accessible
3. Install the trim
4. Fill nail holes and caulk any gaps
5. Apply a final touch-up/full coat after installation to cover repairs
   and blend everything into one seamless finish
7. When simplicity outweighs the extra steps
For a small trim project (a single door casing, a short run of baseboard), the efficiency gained from the hybrid approach matters less, and simply painting fully after installation is a reasonable, simpler choice — the hybrid method's real advantage shows up most clearly on a larger project with many linear feet of trim to cover.
Guides are researched against primary documentation and observable evidence. Archived material is rewritten, checked, and substantially improved before publication.