
How to Seal MDF Material Before Painting
MDF's porous edges soak up paint unevenly unless properly sealed first — a dedicated MDF sealer or several thin coats of primer gives a smooth, even base for the topcoat.
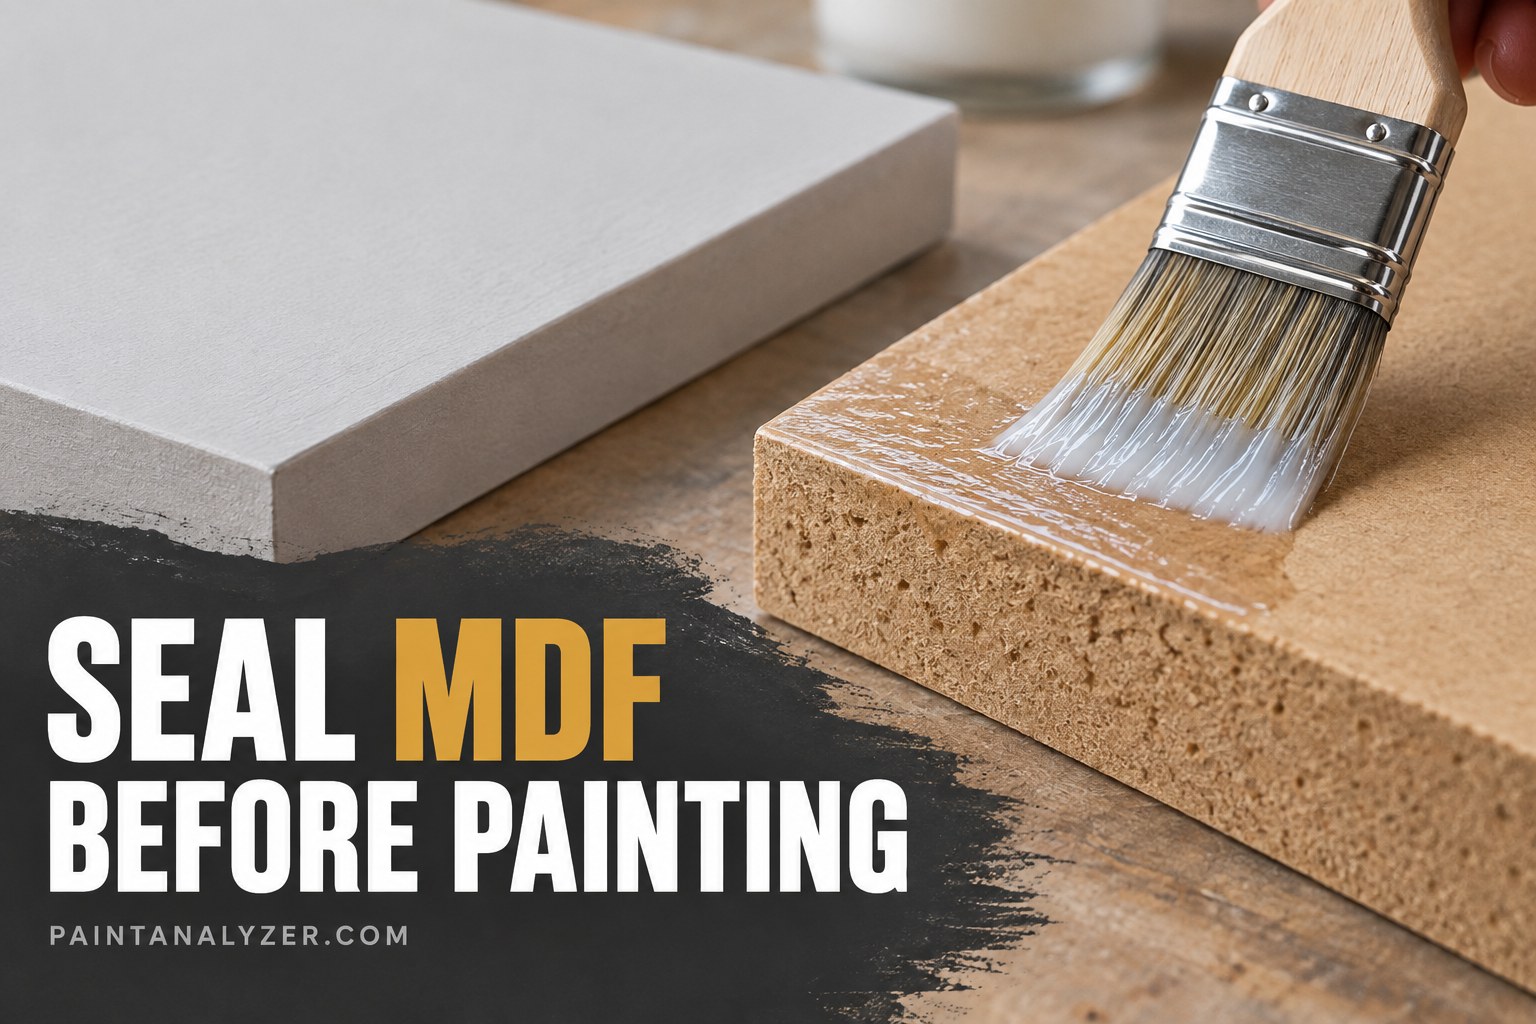
MDF (medium-density fiberboard) is a popular, affordable material for painted furniture and trim, but its porous composition — especially at cut edges — absorbs paint and primer unevenly unless it's properly sealed first, which is the single most important step in getting a smooth, professional-looking painted MDF finish.
1. Understand why MDF's edges need special attention
MDF's flat faces are relatively dense and factory-smooth, but any cut edge exposes the material's more porous internal fiber structure — these cut edges absorb far more paint and primer than the flat faces, leading to a rougher, fuzzier texture specifically at the edges if not addressed separately.
2. Sand lightly before sealing
A light sanding pass, particularly on any cut edges, removes loose fibers and gives a slightly smoother starting surface for the sealer to bond to.
3. Apply a dedicated MDF sealer or several thin primer coats
1. Apply a dedicated MDF sealer (or a high-build primer formulated
   for porous surfaces) to the entire piece, with extra attention
   to cut edges
2. Let dry fully
3. Sand lightly to knock down any raised grain or fuzz
4. Apply a second coat if the edges still show visible porosity
5. Sand again lightly before moving to the topcoat
4. Pay special attention to cut edges specifically
Cut edges often need an extra coat of sealer beyond what the flat faces need, since they absorb considerably more material — checking edges specifically after the standard sealing process and adding another coat there if they still look more porous or fuzzy than the flat faces addresses this directly.
5. Sand between every coat for a smooth final result
MDF is prone to raising fine fibers ("fuzzing") with each wet coat applied over it — light sanding between every coat, not just once before the topcoat, progressively smooths out this fuzzing and is what ultimately produces a genuinely smooth painted MDF surface.
6. Apply the topcoat once the surface is properly sealed and smooth
With the MDF properly sealed and sanded smooth, the topcoat paint applies and looks the same as it would on any other properly primed surface — the extra effort in the sealing stage specifically is what determines whether the final result looks smooth and professional or rough and unevenly absorbed.
7. Address moisture exposure separately, if relevant
For MDF furniture or trim that might see any moisture exposure (a bathroom vanity, for instance), following the additional moisture-sealing guidance covered for MDF elsewhere on this site addresses MDF's separate vulnerability to swelling from water exposure, which sealing for paint adhesion alone doesn't fully protect against.
Guides are researched against primary documentation and observable evidence. Archived material is rewritten, checked, and substantially improved before publication.