
How to Sand Paint Off a Metal Surface the Right Way
The right grit progression and a light touch keep sanding from gouging or overheating the metal underneath — the two mistakes that actually cause problems when this method is rushed.
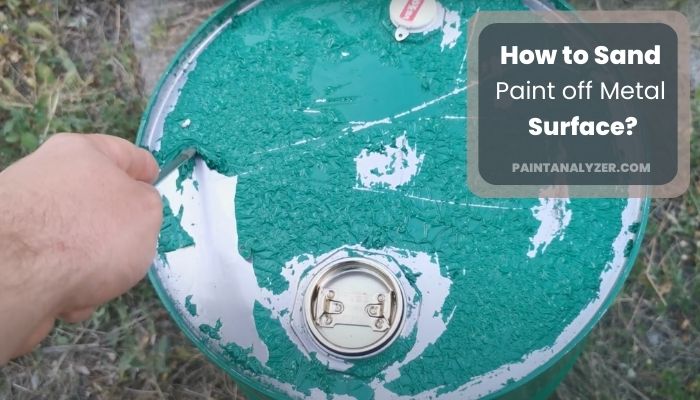
Sanding is one of a few standard ways to remove old paint from metal (alongside chemical stripping and media blasting) — it's the most accessible for a DIY project since it needs no special equipment, but it's also the easiest to do wrong: too aggressive a grit or too much pressure can gouge the metal or, on thinner sheet metal, generate enough localized heat to warp it.
1. Test for lead paint first, on anything old
On metal painted before 1978 (railings, older appliances, vintage furniture, exterior fixtures), test for lead paint before sanding — a lead test kit from a hardware store is inexpensive and fast. Dry-sanding lead paint creates hazardous airborne dust; if lead is confirmed, wet-sanding with proper containment and disposal, or hiring an EPA RRP-certified contractor, is the safer approach.
2. Start with a coarser grit, then step up
80-grit  → removes bulk paint and any rust quickly
120-grit → smooths out the coarse scratches left by 80-grit
220-grit → final smoothing before priming
Jumping straight to a fine grit on heavily painted metal takes far longer and loads the sandpaper with paint residue quickly, requiring constant paper changes. Starting coarser and stepping up through progressively finer grits is both faster overall and produces a more even final surface.
3. Keep the sander moving, and don't press hard
Whether using a random orbital sander or sanding by hand, constant motion and light, even pressure prevent two specific problems: gouging (from digging into one spot too long, especially with a coarse grit) and heat buildup (from friction on one area, which on thin sheet metal can cause visible warping or discoloration). Let the sandpaper's abrasiveness do the work rather than pushing harder to speed things up.
4. Wear proper protection
A dust mask rated for fine particulates (not just a basic cloth mask), safety glasses, and gloves — sanding paint off metal generates a genuine amount of fine dust and, on old or rusted metal, sharp fragments. This applies even when lead isn't a concern; standard paint dust and metal particulate are still respiratory irritants worth avoiding.
5. Get into corners and edges with the right tool
A random orbital or detail sander handles flat areas efficiently, but corners, edges, and any decorative detail usually need hand-sanding with a folded piece of sandpaper, or a small detail sander attachment — trying to force a large sander into a tight corner is how gouges and uneven spots happen.
6. Clean thoroughly before priming
Wipe the sanded metal with a tack cloth or a cloth dampened with mineral spirits to remove all sanding dust — any dust left on the surface prevents the new primer from bonding fully and evenly, undermining the whole point of sanding in the first place.
7. Prime promptly, especially on bare steel
Freshly sanded bare steel begins oxidizing (rusting) almost immediately when exposed to humid air — priming within the same day, ideally within a few hours, prevents a fresh layer of surface rust from forming before the primer coat goes on.
Guides are researched against primary documentation and observable evidence. Archived material is rewritten, checked, and substantially improved before publication.