
How to Paint With a Roller Without Streaks
Roller streaks almost always trace back to one of a few specific causes — the wrong nap, too little paint, or an inconsistent rolling pattern — each with a straightforward fix.
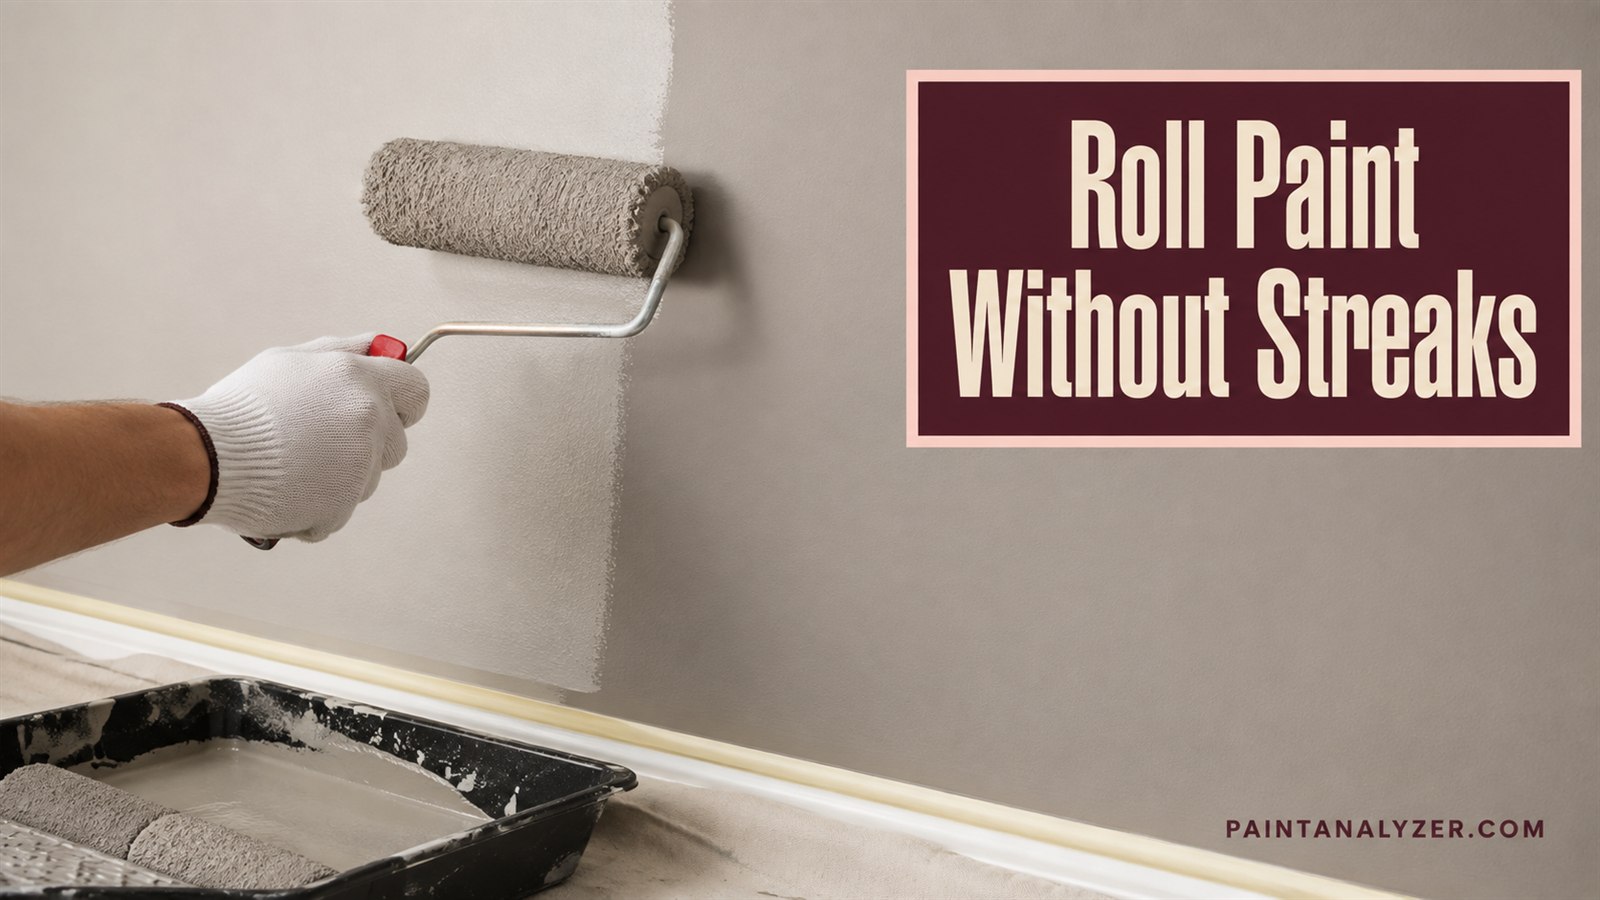
Streaky roller marks in a finished paint job are frustrating but almost always traceable to one of a handful of specific, fixable causes — identifying which one is actually happening makes the fix straightforward rather than a matter of trial and error.
1. Using the wrong roller nap for the surface and paint
A nap that's too short for a textured surface, or too long for a smooth one, can create uneven paint distribution that shows as streaking — matching the roller nap to both the wall's texture and the paint's thickness (thicker paints generally pair better with a slightly longer nap) addresses this at the source.
2. Not loading the roller with enough paint
Rolling with too little paint on the roller forces it to be dragged rather than rolled smoothly across the surface, which tends to leave visible streaks as the roller runs dry mid-pass — reloading more frequently, before the roller starts to feel dry, prevents this.
3. Rolling in an inconsistent pattern
1. Apply paint in a "W" or "N" pattern across a roughly 3x3 foot section
2. Without lifting the roller, fill in the pattern with parallel strokes
3. Finish the section with light, even strokes in one direction,
   slightly overlapping the previous section
4. Move to the next section while the edge is still wet
A consistent, methodical rolling pattern like this, always finishing each section with light strokes in the same direction, produces a more even, streak-free result than random or inconsistent rolling motions.
4. Not maintaining a wet edge
Allowing paint to dry along the edge of a section before moving to the adjacent one causes visible lap marks where the new wet paint overlaps the already-drying edge — working in a size of section that can be completed while the edge is still wet avoids this streaking pattern.
5. Paint that's too thick or hasn't been stirred properly
Paint that's too thick (whether from age, storage, or the product itself) can resist smooth rolling and show streaks — checking the paint's consistency and, if needed, thinning slightly per the manufacturer's guidance, or ensuring it's been thoroughly stirred following the stirring guidance covered elsewhere, can resolve streaking caused by the paint itself.
6. Rolling too fast or applying uneven pressure
Rolling too quickly, or applying inconsistent pressure across a pass, distributes paint unevenly — slowing down and maintaining light, even pressure throughout each stroke gives the roller time to distribute paint evenly rather than skipping or streaking.
7. Fixing existing streaks once dry
For streaks that have already dried, a light sanding to smooth out any texture, followed by a properly-applied fresh coat using the technique above, generally resolves the issue — trying to fix streaking by adding more paint without addressing the underlying cause usually just repeats the same problem.
Guides are researched against primary documentation and observable evidence. Archived material is rewritten, checked, and substantially improved before publication.