
How to Paint Around a Toilet
Removing the toilet entirely gives the most even result, but a careful masking and detail-brush approach works well for anyone who'd rather not deal with disconnecting plumbing.
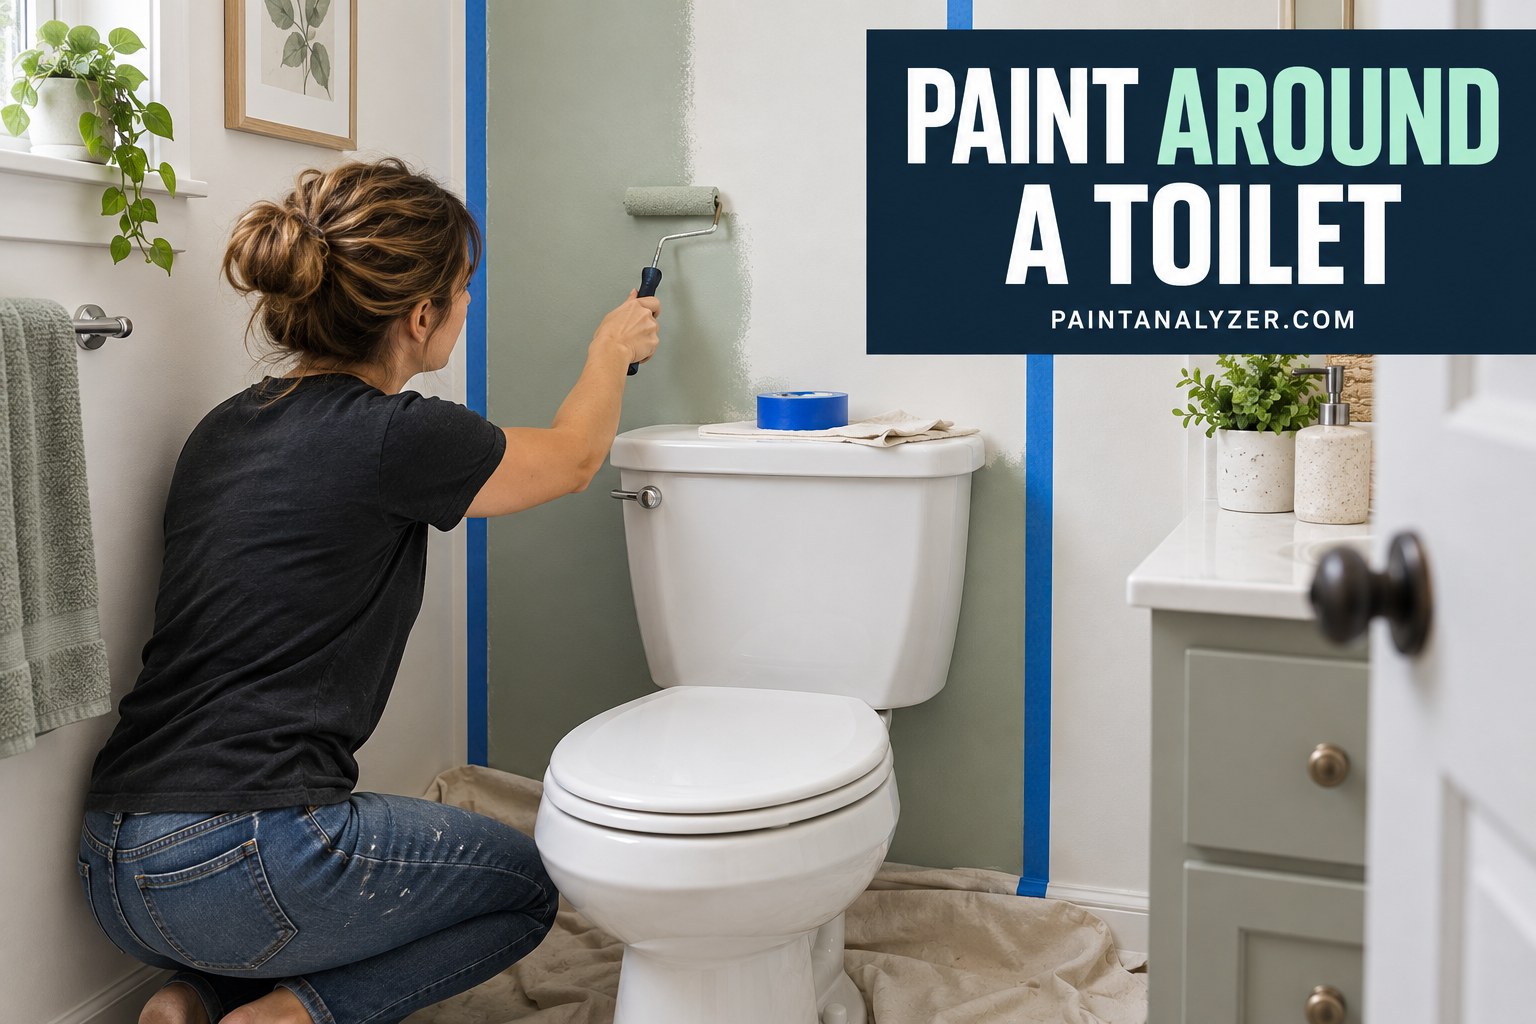
Painting a bathroom wall behind and around a toilet is a common awkward-access situation — removing the toilet entirely gives the most complete, even coverage, but a careful masking-and-detail-brush approach is a reasonable alternative for anyone who'd rather not disconnect plumbing for a routine repaint.
1. Option one: remove the toilet for full access
1. Turn off the water supply and flush to empty the tank
2. Disconnect the water supply line
3. Remove the mounting bolts and lift the toilet away
4. Paint the wall fully and evenly, with complete access
5. Reinstall with a new wax ring, following proper reinstallation procedure
This gives the best, most even result and is worth considering for a significant repaint or as part of a larger bathroom renovation — but it's a bigger undertaking than most routine touch-ups call for, and reinstalling a toilet correctly (including a fresh wax ring) matters for avoiding leaks afterward.
2. Option two: mask carefully and paint around the toilet in place
1. Mask the toilet thoroughly with plastic sheeting and painter's tape,
   covering the tank, bowl, and seat completely
2. Use a small angled brush for the tight areas directly behind and
   beside the toilet
3. Work carefully and patiently in the restricted space, rather than
   rushing
3. Using an extension pole or angled tool for hard-to-reach spots
For the area directly behind the toilet tank, a small roller on an extension, or a specifically angled detail brush, reaches spots a standard brush held by hand often can't access comfortably — worth having on hand specifically for this awkward zone.
4. Accepting some imperfection in the hardest-to-reach spots, if painting in place
Realistically, the area directly behind a toilet tank is one of the least visible parts of a bathroom — for a routine repaint where removing the toilet isn't practical, accepting slightly less perfect coverage in this specific low-visibility spot, while doing careful work everywhere else, is a reasonable practical compromise.
5. Protecting the toilet and surrounding fixtures from paint splatter
Beyond the toilet itself, nearby fixtures (a towel bar, a toilet paper holder) should be masked or removed — the confined space around a toilet makes accidental splatter onto these nearby items more likely than in a more open part of the room.
6. Cleanup and reassembly
Removing masking carefully once the paint has reached an appropriate point in its dry cycle (following the general tape-removal timing covered for painter's tape generally) and doing a final check for any missed spots or drips completes the job, whether the toilet was removed or painted around in place.
Guides are researched against primary documentation and observable evidence. Archived material is rewritten, checked, and substantially improved before publication.