
How to Paint an Acoustic Guitar Properly Without Damaging It
Painting a guitar is achievable but genuinely delicate work — protecting the sound hole, hardware, and finish quality on an instrument you actually intend to keep playing takes real care.
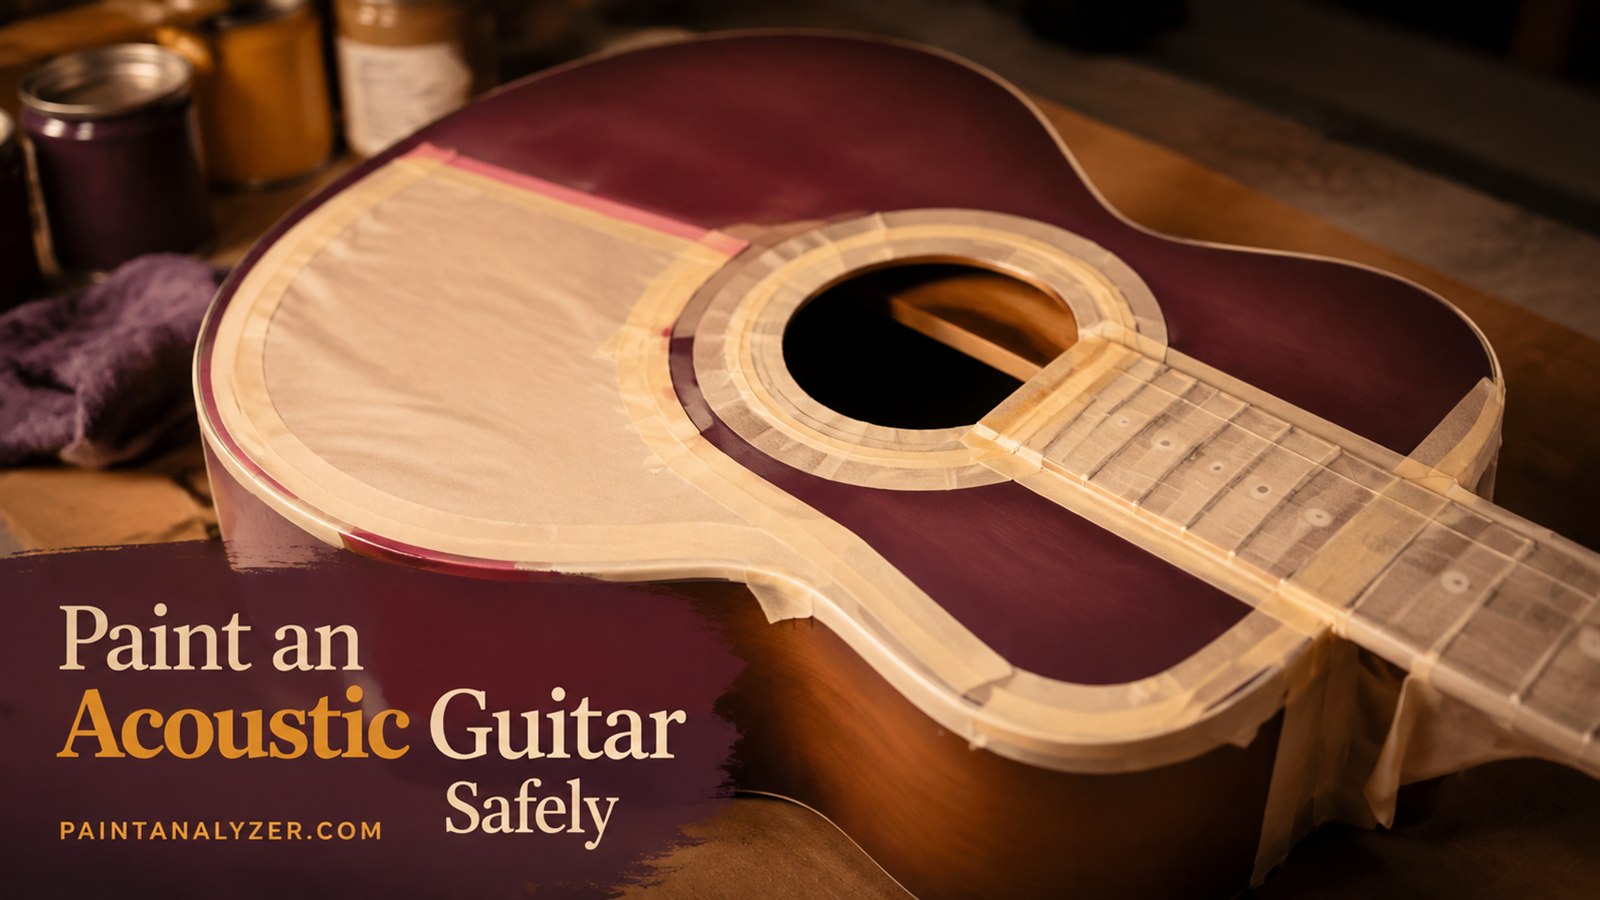
Painting an acoustic guitar is a genuinely achievable project, but it requires more care than typical furniture or craft painting given the instrument's delicate hardware, sound hole, and the fact that a poor masking job or heavy-handed technique can affect both appearance and, in some cases, playability.
1. Remove strings and any removable hardware first
Removing the strings and any hardware that can reasonably be detached (tuning pegs, if accessible) gives clean access to the surface being painted and protects that hardware from overspray or accidental paint contact.
2. Mask the sound hole, fretboard, and bridge thoroughly
The sound hole and any interior bracing visible through it should be masked completely, along with the fretboard and bridge if those aren't being repainted — thorough masking here matters more than on most projects, since paint inside the sound hole is both hard to remove and can affect the instrument's resonance.
3. Sand the existing finish lightly to promote adhesion
Most acoustic guitars have a glossy factory lacquer or polyurethane finish — following the same deglossing principle covered for any glossy surface, a light sanding breaks that gloss enough for the new paint to adhere, without sanding aggressively enough to damage the wood body underneath.
4. Use a paint and technique suited to a musical instrument
A guitar-specific finish or a high-quality spray paint applied in thin, even coats (following standard spray technique covered elsewhere) gives a smoother, more professional-looking result than brush application, which is considerably harder to make look even on a guitar's curved body.
5. Consider the weight and thickness of the paint applied
Multiple thick coats of paint add meaningful weight and thickness to the guitar's top, which can subtly affect its acoustic resonance — thin, even coats, using only as many as needed for full coverage, minimize this effect on an instrument that's actually going to be played rather than purely displayed.
6. Allow full cure time before restringing
Restringing and applying the tension of tuned strings before the paint has fully cured risks marking or denting the still-soft finish at the bridge and nut contact points — waiting for the paint's full cure time before restringing protects the new finish through this step.
7. Recognize when a guitar is too valuable or delicate to risk painting yourself
For a genuinely valuable or vintage instrument, the risk of an amateur paint job affecting resale value or sound quality is a real consideration — reserving DIY painting for a guitar where the outcome, even if imperfect, is an acceptable risk is the more sensible approach for anything with significant monetary or sentimental value.
Guides are researched against primary documentation and observable evidence. Archived material is rewritten, checked, and substantially improved before publication.