
How to Fix a Bad Mud Job on Painted Drywall
Visible ridges, sanding marks, or uneven texture showing through paint almost always traces back to rushed or under-sanded joint compound — the fix means going back to that layer, not just adding more paint on top.
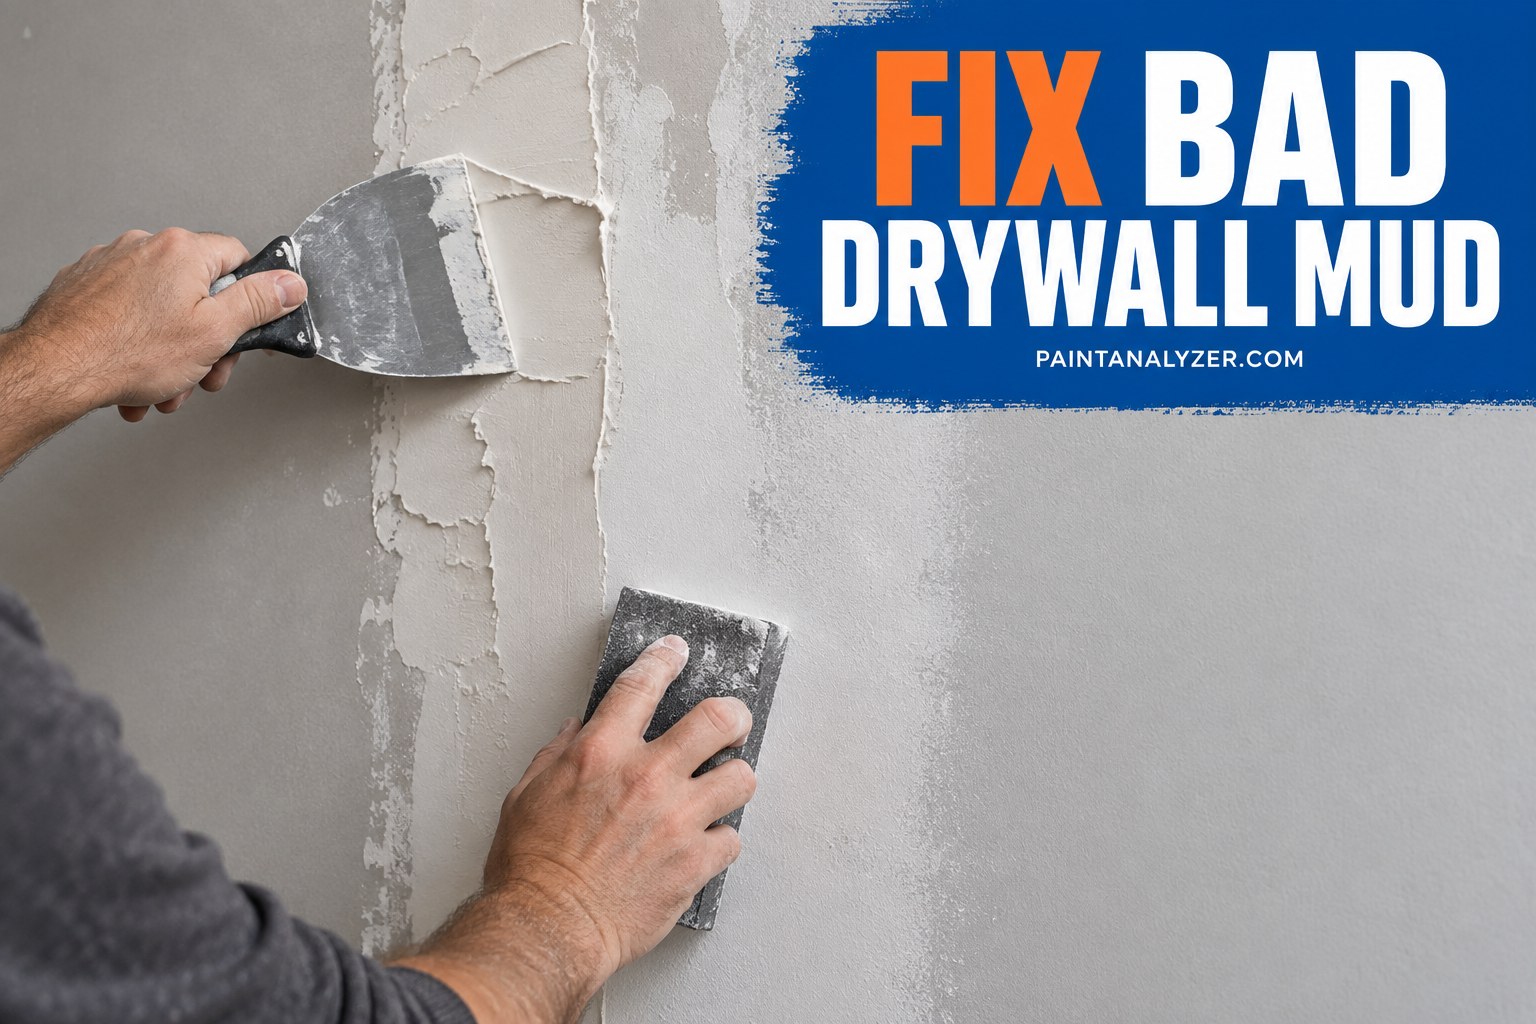
A poorly finished drywall joint or patch — visible ridges, sanding scratches, an uneven or lumpy texture — becomes considerably more visible once paint is applied, since paint's reflective surface highlights texture flaws that were less obvious on bare, flat-toned joint compound. The fix means addressing the actual mud layer underneath, not adding more paint on top of the existing problem.
1. Confirm the problem is actually in the mud, not the paint application
Ridges, waves, or visible sanding scratch patterns showing through paint under raking light are almost always a joint compound issue — as opposed to a paint application problem like roller marks or lap lines, which look and behave differently. Identifying which one it actually is (mud-level texture vs. paint-application texture) determines the correct fix.
2. Sand down the problem area first
1. Sand the affected area with medium-grit sandpaper to knock down the
   worst of the ridges or unevenness
2. Check under raking light (a work light held at a low angle) to see the
   texture more clearly than normal room lighting reveals
3. Apply a thin skim coat of fresh joint compound over the problem area
1. Apply a thin, wide skim coat of joint compound over the affected area,
   feathering the edges well beyond the visible flaw
2. Let dry fully
3. Sand smooth
4. Repeat with a second thin coat if needed for a fully even, flat result
A wide, well-feathered skim coat — extending noticeably beyond just the visible flaw itself — is what actually blends the repair into the surrounding wall invisibly; a tightly confined patch just the size of the flaw tends to show as its own new ridge at its edges.
4. Prime the repaired area before repainting
As covered for priming drywall generally, the freshly sanded joint compound area has different porosity than the surrounding already-painted wall — priming the repaired area (and ideally the whole wall, for the most even final color and sheen) prevents the flashing effect where the repaired spot absorbs paint differently than the rest of the surface.
5. Check under raking light again before repainting
Before committing to the full repaint, checking the repaired area under raking light one more time confirms the texture is actually smooth and even — this is the point to catch and fix any remaining unevenness, since it's much easier to sand and reskim before paint than after a fresh coat reveals a remaining flaw.
6. Repaint the full wall, not just the patch, for the most invisible result
As covered for touch-up paint mismatches generally, painting just the repaired patch — even with an exact color match — often shows as a visible area due to sheen, texture, or slight age/fade differences from the surrounding wall. For a prominent, well-lit wall, repainting corner-to-corner gives the most genuinely invisible result.
7. Prevention for future drywall work
The underlying lesson for future joint compound work: apply thin coats (multiple thin coats rather than one thick one), sand thoroughly and check under raking light before priming, and don't rush the mud stage — most bad mud jobs trace back to skipping one of these steps under time pressure, and the fix described above is exactly the extra work that pressure was trying to avoid in the first place.
Guides are researched against primary documentation and observable evidence. Archived material is rewritten, checked, and substantially improved before publication.