
How to Fill Wood Cracks Before Painting
The right filler depends on crack size and whether the wood will flex — wood filler for small, stable gaps, epoxy filler for structural or larger repairs, and a flexible caulk for a joint that moves seasonally.
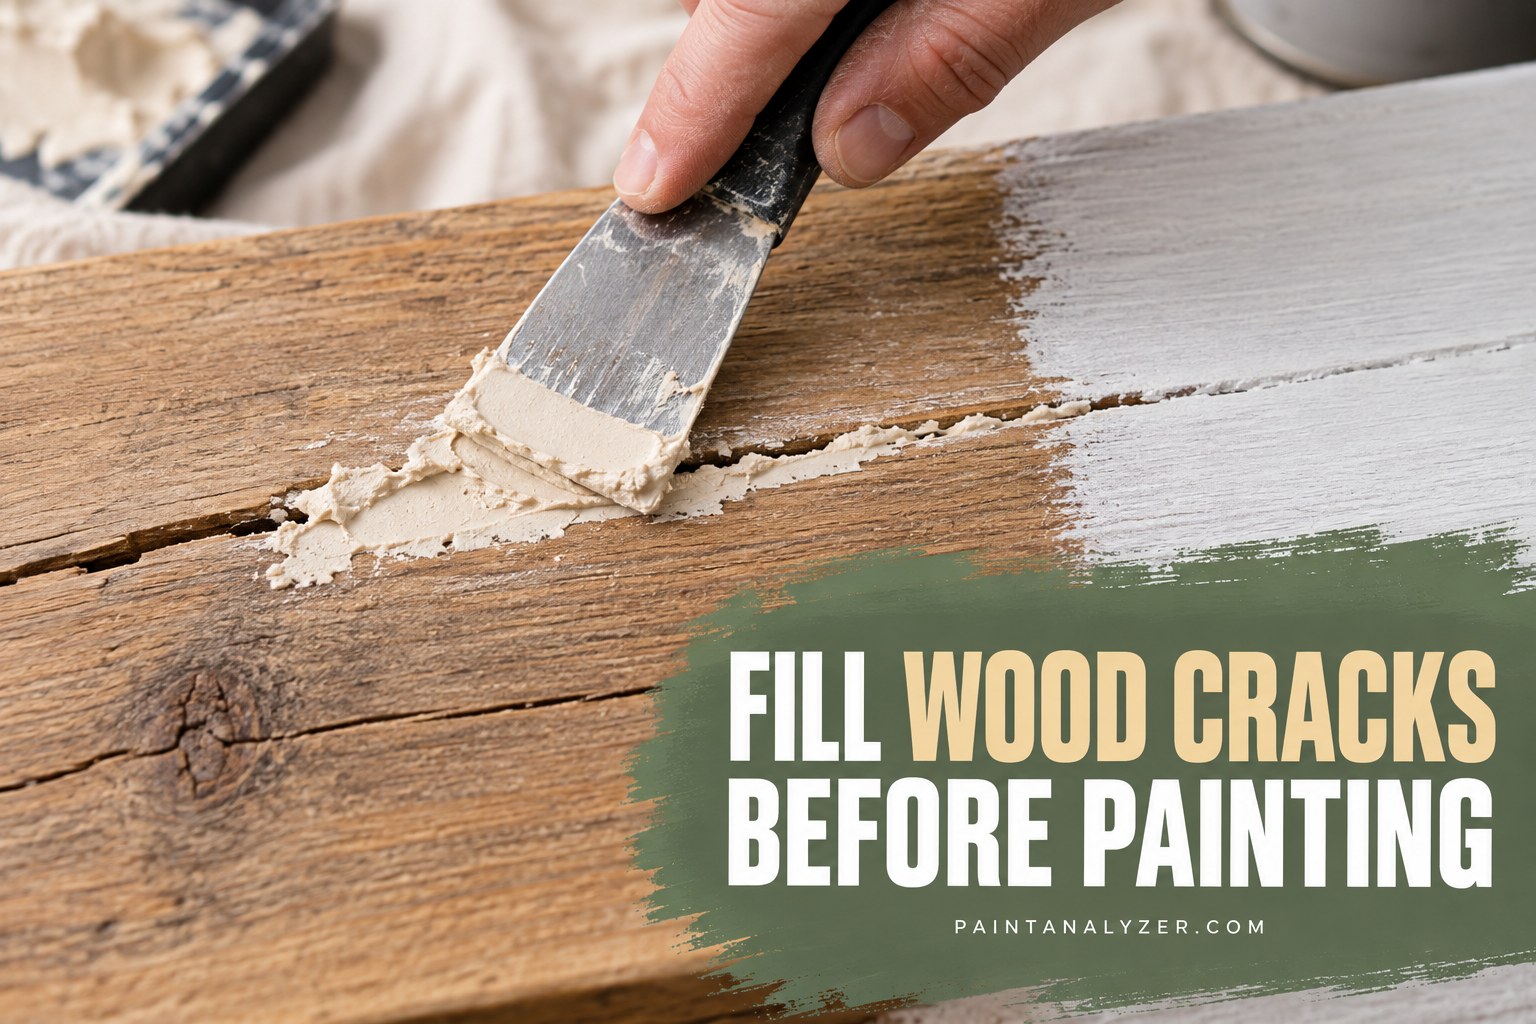
Cracks, gaps, and small holes in wood — whether from age, drying, nail holes, or minor damage — need to be filled before painting for both appearance and a properly sealed surface, but the right product depends genuinely on the crack's size and whether the wood around it will continue to move or flex.
1. Small cracks and nail holes: standard wood filler
1. Clean out any loose debris from the crack
2. Apply wood filler with a putty knife, slightly overfilling since it can
   shrink slightly as it dries
3. Let it dry fully per the product's specified time
4. Sand flush and smooth with the surrounding wood surface
Standard wood filler (a lightweight, often water-based product) works well for small, stable gaps — nail holes, minor surface cracks, small dents — that aren't expected to move or flex significantly after filling.
2. Larger or structural gaps: two-part epoxy wood filler
For a larger crack, a genuinely structural gap, or damage in wood that needs real rebuilding (a rotted edge repaired with hardener, as covered separately, then built back out), a two-part epoxy wood filler provides considerably more strength and durability than standard lightweight filler — it cures harder and bonds more aggressively, appropriate for anything beyond a small cosmetic gap.
3. Cracks at a joint that will continue to move: flexible caulk instead of rigid filler
A crack at a joint between two separate wood pieces — trim meeting a wall, two boards butted together — that will continue to expand and contract seasonally needs a flexible paintable caulk rather than a rigid filler; a rigid filler at a genuinely moving joint tends to crack again at the same spot as the wood shifts, while flexible caulk moves with it.
4. Matching the filler to whether the wood will be painted or stained
Standard and epoxy wood fillers are generally paintable once sanded smooth, but many don't take stain the same way surrounding wood does — for a project that will be stained rather than painted, checking specifically for a stainable wood filler product (formulated to absorb stain more like real wood) matters, since a standard filler can show as an obvious mismatched patch under stain even when it blends seamlessly under opaque paint.
5. Sanding to a smooth, flush finish
Once dry, sanding the filled area flush with the surrounding wood — starting with a medium grit if there's excess buildup, finishing with a fine grit — is what actually makes the repair invisible once painted; a filler left slightly proud of the surface reads as an obvious bump or ridge even under several coats of paint.
6. Priming the filled area along with the rest of the surface
The filled area needs priming just like the rest of the wood — different filler types can absorb primer and paint slightly differently than the surrounding wood, and priming the whole surface evenly (rather than skipping the filled patches specifically) helps minimize any visible difference in the final painted finish.
Guides are researched against primary documentation and observable evidence. Archived material is rewritten, checked, and substantially improved before publication.