
How to DIY Paint a Concrete Floor in Your Basement
A basement floor's real enemy is moisture coming up through the slab — checking for it before painting, and using a genuinely floor-rated epoxy or concrete paint, are what separate a lasting job from one that peels within a year.
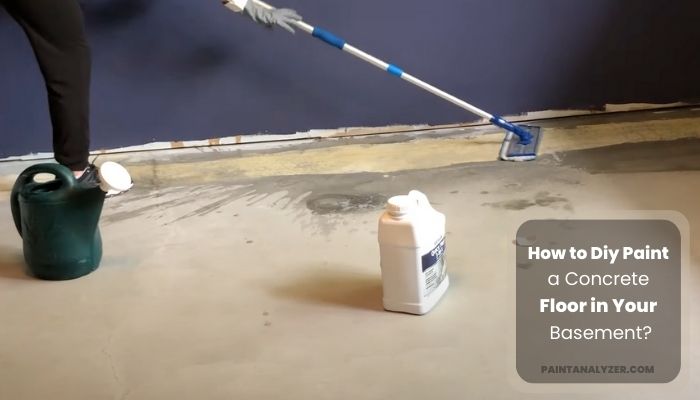
Painting a basement concrete floor is a common, worthwhile DIY project, but basements specifically carry a real risk most other concrete floors don't: moisture moving up through the slab from the ground below, which can cause even a well-applied floor coating to fail if it isn't checked for and addressed first.
1. Test for moisture before doing anything else
The plastic sheet test: tape a roughly 2x2 foot sheet of plastic to the floor,
sealed on all edges, and leave it for 24-48 hours

If condensation forms under the plastic, or the concrete underneath darkens,
there's active moisture coming through the slab
This is the single most important step before starting — painting over a slab with active moisture migration, without addressing it, is close to guaranteed to result in the coating bubbling, peeling, or failing within a relatively short time, regardless of how well the rest of the job is executed.
2. Address moisture issues before painting, if the test is positive
A positive moisture test means the underlying moisture source (poor exterior drainage, a foundation crack, inadequate below-slab vapor barrier) needs addressing first — this can range from improving exterior grading and gutters to, in more serious cases, needing a foundation waterproofing assessment. Painting over unaddressed moisture is treating a symptom, not the actual problem.
3. Clean and etch the concrete
1. Clean thoroughly, removing dust, oil stains (degreaser for any oil/grease),
   and loose debris
2. Etch the concrete with a muriatic acid solution or a dedicated concrete
   etching product, following safety precautions (ventilation, protective
   equipment) closely
3. Rinse thoroughly and allow to dry completely
Etching opens up concrete's naturally dense, often sealed surface (especially on an older or previously sealed floor) so the coating actually has something to bond to — skipping this step is a common reason DIY concrete floor coatings fail to adhere well.
4. Repair cracks before coating
Any existing cracks should be filled with an appropriate concrete crack filler and allowed to cure before coating — painting or coating directly over an unrepaired crack means that crack (and any future movement at it) will likely show through or reopen the coating at that exact spot.
5. Choose a genuine floor-rated product — epoxy or concrete floor paint
As covered for driveways, a dedicated concrete floor coating (epoxy or a specific concrete floor paint, not standard wall paint) is formulated for foot traffic, moisture, and the general wear a floor experiences — this is a real product-category distinction, not a minor preference.
6. Application
1. Apply the etching/prep steps above
2. Apply primer if the specific product system calls for one
3. Apply the floor coating in the thickness and number of coats the product
   specifies, working in sections to maintain a wet edge
4. Add anti-slip additive to the final coat if desired, per the product's
   instructions
7. Cure time before returning the basement to normal use
Floor coatings typically need a genuinely extended cure time — often several days for full foot-traffic readiness, and sometimes longer before heavy furniture or storage returns — before the space is used normally again. Rushing this step risks damaging the coating before it's reached full hardness.
Guides are researched against primary documentation and observable evidence. Archived material is rewritten, checked, and substantially improved before publication.