
How to Achieve a High-Gloss Mirror Finish on Wood
A genuine mirror-like gloss on wood comes from meticulous surface prep, multiple build coats, and a final wet-sand-and-buff process — there's no shortcut past the labor involved.
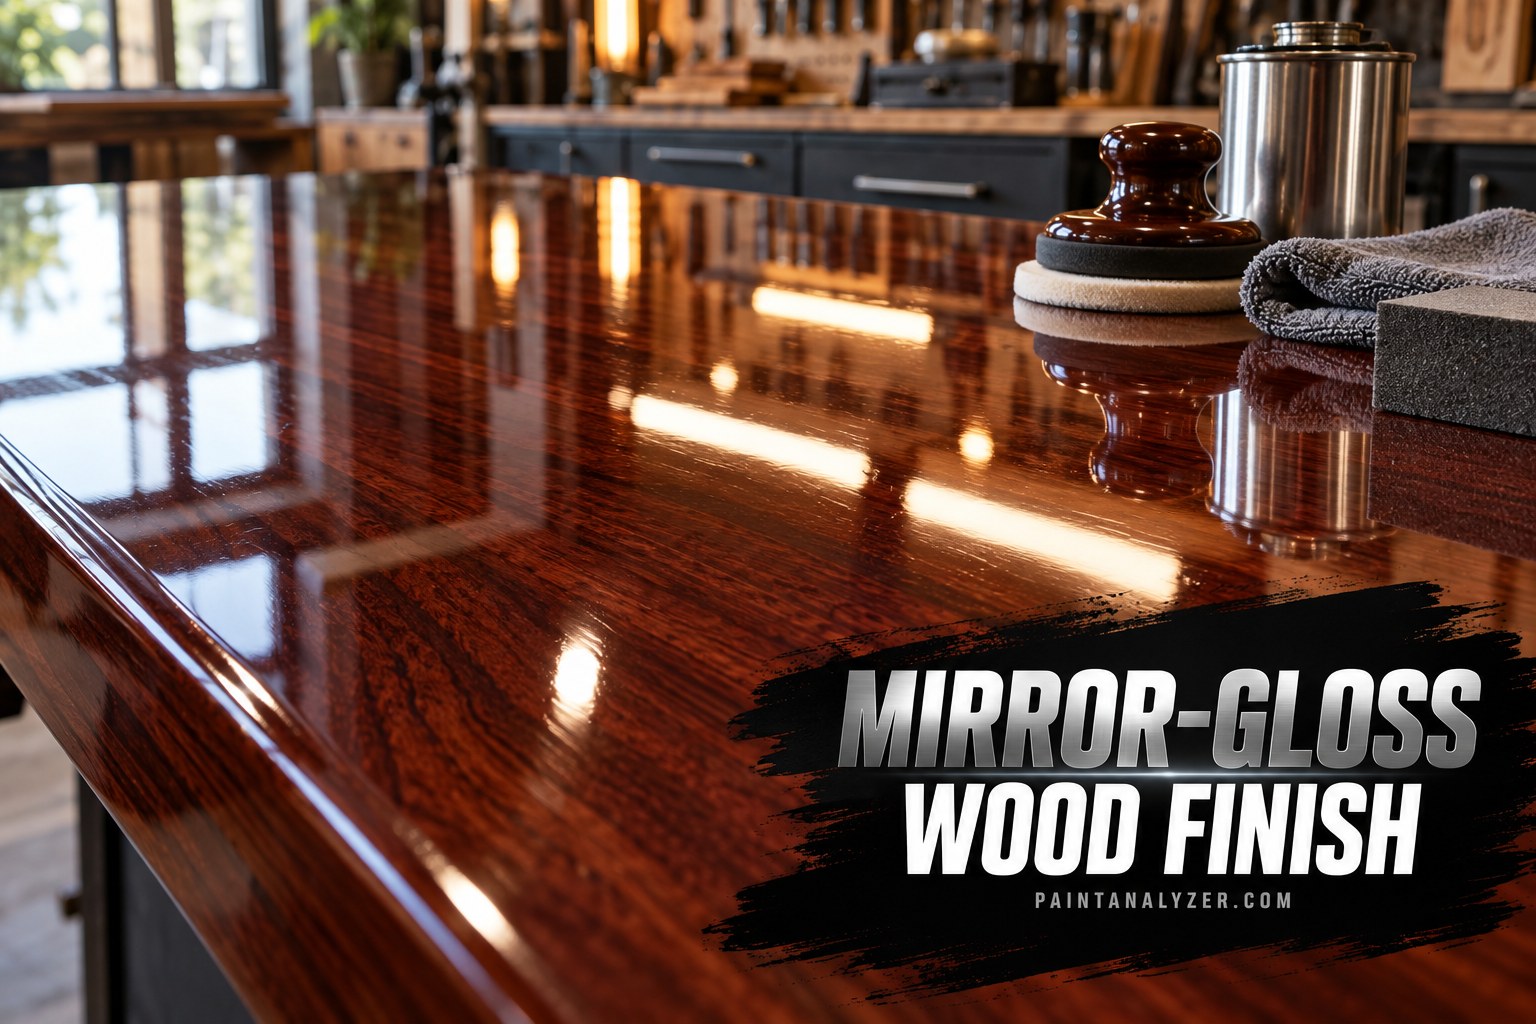
Achieving a genuine high-gloss, mirror-like finish on wood is one of the more labor-intensive finishing goals, requiring meticulous surface prep and, typically, a wet-sanding and buffing process beyond just applying a glossy topcoat product straight from the can.
1. Start with a genuinely smooth, flaw-free wood surface
Following the smooth wood painting principles, thorough sanding through progressively finer grits, with careful attention to filling any grain, dents, or imperfections, is essential — a mirror gloss finish reveals every surface flaw far more clearly than a lower-sheen finish would.
2. Build up multiple coats of a high-gloss finish product
A high-gloss polyurethane, lacquer, or specialty mirror-finish product, applied in multiple thin coats with proper drying and light sanding between each, builds the film thickness needed for genuine depth and gloss — a single coat, however glossy the product, won't achieve the same result as several properly built-up layers.
3. Sand between every coat with progressively finer grit
Sanding lightly between each coat, using progressively finer grits as the coats build up, removes dust nibs and minor imperfections from each layer — this cumulative refinement across many coats is what ultimately produces genuine mirror-like smoothness.
4. Wet-sand the final coats with very fine grit
Wet-sanding (using water or a specific lubricant with very fine grit sandpaper, often 1000 grit or higher) on the final coats removes any remaining minute texture, preparing the surface for the final buffing stage that achieves true mirror clarity.
5. Buff with polishing compound for the final gloss
A rubbing or polishing compound, applied with a buffing pad (by hand or with a power buffer for larger surfaces), brings out the final high gloss after wet-sanding — this step is what transforms a smooth but slightly hazy wet-sanded surface into a genuinely clear, mirror-like finish.
6. Work in a genuinely dust-free environment
Given how visible even tiny dust particles become in a mirror-gloss finish, working in as dust-free an environment as practically achievable (a clean, controlled space, allowing dust to settle before starting, minimizing air movement during application) meaningfully affects the final result's quality.
7. Understanding the time investment this finish genuinely requires
A true mirror finish takes considerably more time than a standard glossy topcoat — multiple build coats with drying and sanding time between each, followed by wet-sanding and buffing, easily spans several days for a proper result, and this realistic time investment is worth planning for rather than rushing.
Guides are researched against primary documentation and observable evidence. Archived material is rewritten, checked, and substantially improved before publication.