
Can You Paint Wood Paneling Walls?
Yes, and it's one of the most effective, budget-friendly ways to modernize a room with dated wood paneling — the grooved texture just needs the same thicker-nap-roller and detail-brush approach covered for other textured surfaces.
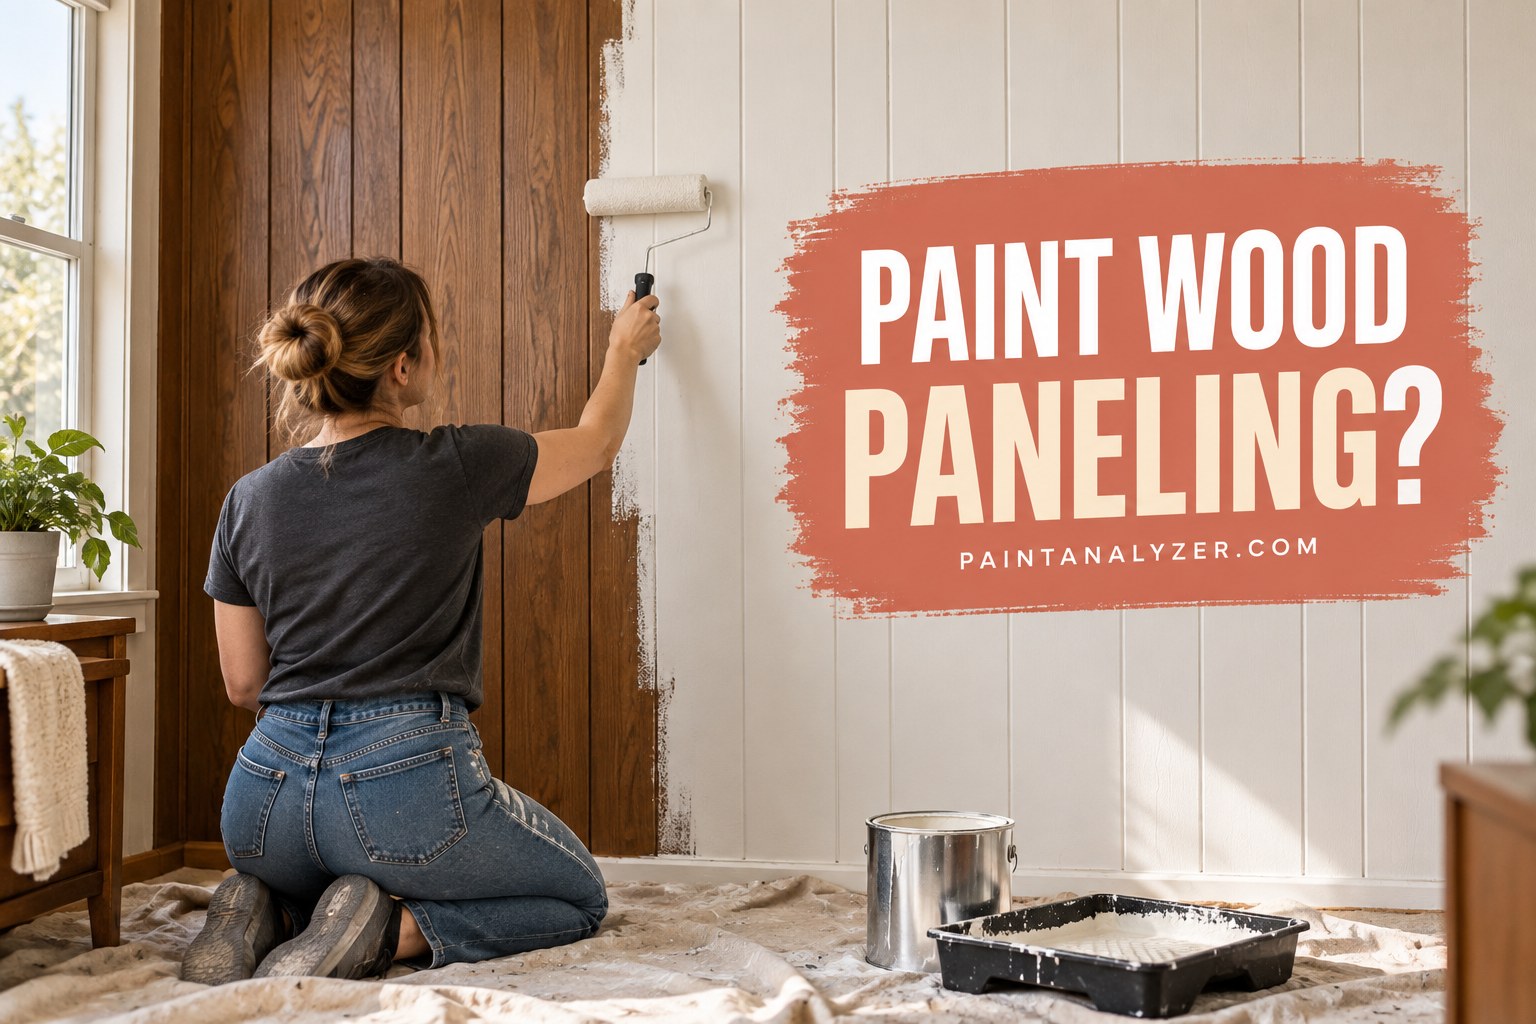
Painting over dated wood paneling — a very common feature in homes built from roughly the 1960s through 1980s — is one of the more transformative, budget-friendly updates available, and it's a straightforward job once the paneling's particular surface (often a thin factory finish, plus a grooved texture) is properly addressed.
1. Clean thoroughly
Wash the paneling with a degreasing cleaner (TSP or a substitute) to remove years of accumulated dust, grease, and general grime — this matters especially in a room like a den or family room where paneling has likely been up for decades without much attention.
2. Sand or deglaze the factory finish
Most wood paneling has a thin factory-applied lacquer or varnish coating, giving it a slight sheen — this needs the same deglossing treatment (sanding or a liquid deglosser) covered for any glossy finish, since paint applied directly over an unaltered factory sheen won't bond reliably.
3. Fill the grooves — an optional but worthwhile step for a smoother, less obviously paneled look
The vertical grooves characteristic of most wood paneling remain visible after painting unless they're filled first — wood filler or a paintable caulk, run into the grooves and smoothed level with the surrounding surface, produces a result that reads more like a smooth wall and less obviously like painted paneling underneath. This is optional; many people paint directly over the grooves and keep the subtle texture as part of the room's character.
4. Prime with a stain-blocking primer
Wood paneling, like other wood surfaces, can have tannins or the original wood tone bleed through paint without proper priming — a stain-blocking primer (as covered for knots and stained wood generally) is worth using here specifically, especially over darker-toned original paneling being covered with a lighter paint color.
5. Use a roller with the right nap for the grooved texture
As covered for textured walls generally, a thicker-nap roller (3/8" to 1/2", depending on how deep the grooves are) reaches into the grooves more completely than a smooth-wall roller would — following up with a brush worked specifically into each groove ensures the recessed areas get full, even coverage that the roller alone might miss.
6. Two coats for full, even coverage
Paneling's original wood tone, especially a darker stain, often needs two full topcoat coats over the primer for complete, even hide — checking under good lighting for any areas where the original wood tone or grain is still showing through after the first coat is worth doing before assuming the job is finished.
7. The transformative effect
Painted paneling, done well, is genuinely one of the highest-impact, lowest-cost updates available for a dated room — it's worth the moderate prep effort (deglossing, priming, and the grooved-texture technique) relative to the dramatic visual change compared to replacing the paneling entirely.
Guides are researched against primary documentation and observable evidence. Archived material is rewritten, checked, and substantially improved before publication.