
Can You Paint a Baby Crib? DIY Safety Considerations
Yes, but this is a genuine child-safety project, not a routine furniture refresh — non-toxic, low-VOC paint, full cure time before use, and lead testing on any older or secondhand crib are all real requirements here.
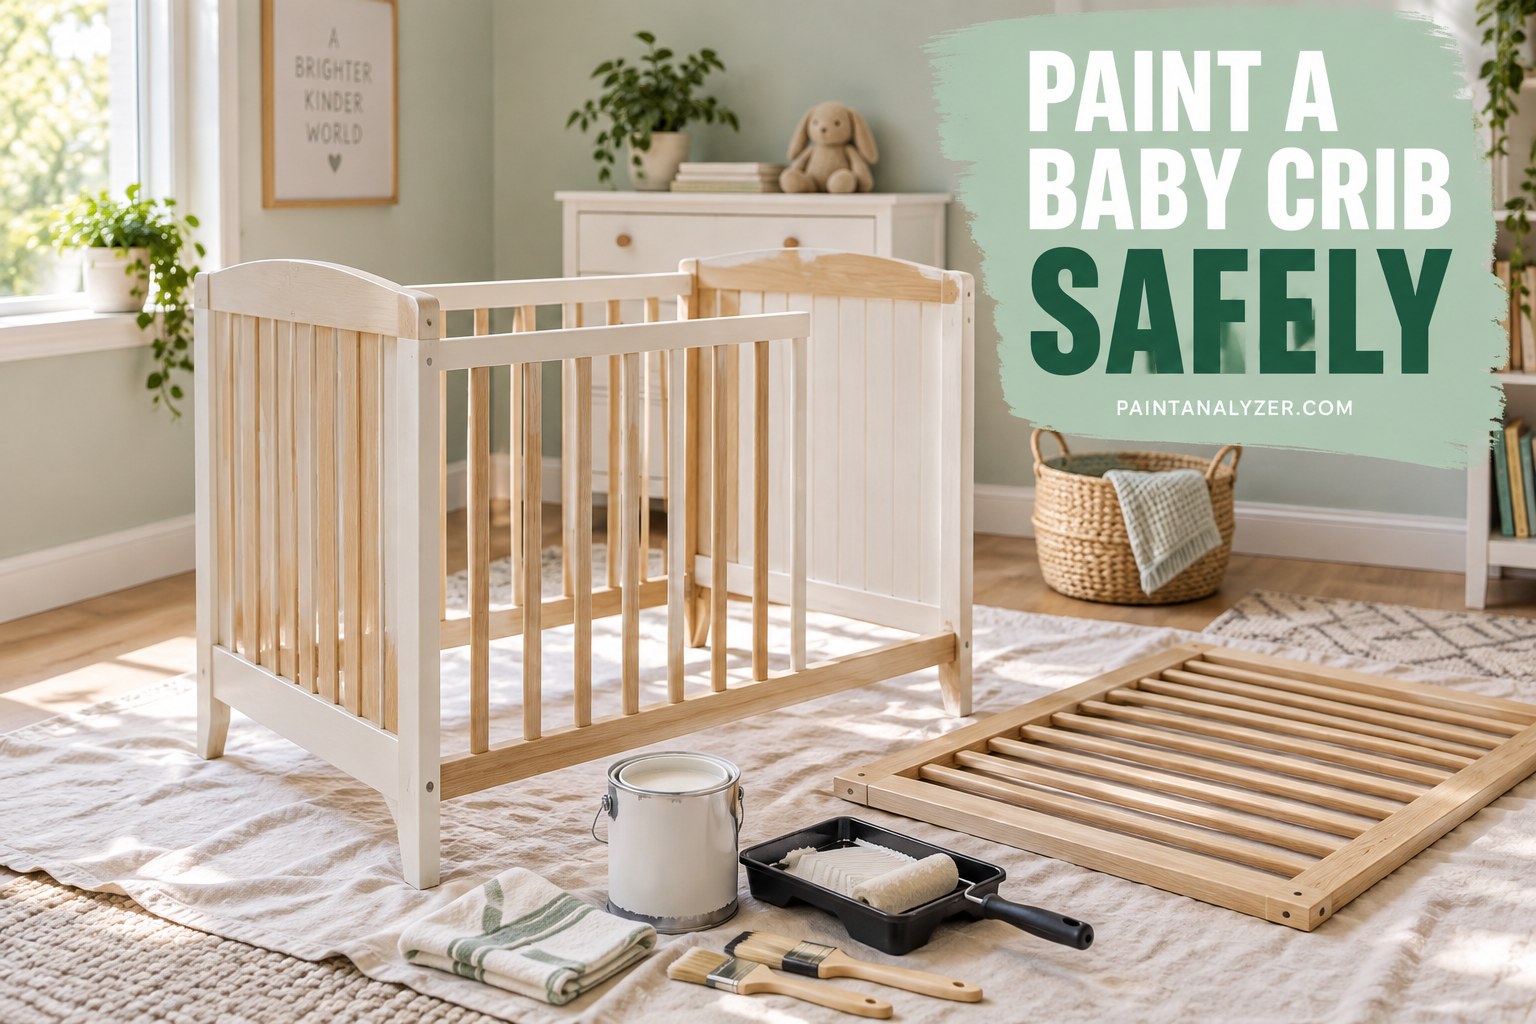
Repainting a crib is a common way to refresh a hand-me-down or secondhand piece, but it deserves genuinely more careful product and process choices than most furniture painting projects — a crib is an item an infant will spend extended time in, in close proximity, and often with direct mouth contact on the rails, which raises the safety bar considerably.
1. Test any secondhand or older crib for lead paint first
As covered for testing for lead paint generally, any crib manufactured or previously painted before 1978 should be tested before any sanding, stripping, or repainting begins — this matters even more here than on typical furniture, given an infant's proximity and mouthing behavior; a positive result means this isn't a DIY project to proceed with without professional lead-safe remediation.
2. Choose paint specifically labeled non-toxic and low/zero-VOC
Beyond the standard non-toxic certification covered for craft paint generally, a crib specifically benefits from a genuinely low or zero-VOC formulation — an infant sleeps in close proximity to this surface for extended periods, making off-gassing a more relevant, ongoing concern here than for most furniture that isn't slept next to for hours at a stretch.
3. Sand, prime, and paint following standard furniture practice
Beyond the specific safety considerations above, the actual painting process follows standard furniture-refinishing technique — cleaning, sanding to remove any existing glossy finish, priming appropriately for the wood, and applying the chosen topcoat in thin, even coats.
4. Allow genuinely full cure time before the crib is used — this matters more here than almost anywhere else
Given that an infant will have direct, prolonged, and mouthing contact with a crib's rails and surfaces, allowing the paint to reach its full stated cure time (not just dry-to-touch) before the crib returns to use is a real requirement — checking the specific paint's label for cure time, and erring toward waiting longer rather than less, is worth prioritizing over any timeline pressure to get the crib back into use quickly.
5. Consider a food-safe or specifically child-furniture-rated topcoat for the rails
Given that crib rails commonly get direct mouth contact from teething infants, a topcoat with the same food-safe consideration covered for butcher block counters is a reasonable extra precaution specifically for the rail surfaces — checking for a finish explicitly rated safe for this kind of direct oral contact, not just generally non-toxic, is worth the extra research for this specific application.
6. Confirm the crib itself still meets current safety standards, separate from the paint
Repainting a crib doesn't address or override any structural safety concerns the crib itself might have — slat spacing, drop-side mechanisms (recalled on many older cribs), and overall structural soundness are separate safety considerations that should be checked against current crib safety standards regardless of how well the repainting itself is executed. A cosmetically refreshed but structurally unsafe crib is still not a safe choice for a baby.
7. When to skip DIY and buy new instead
Given the combination of considerations above — lead risk on an older piece, ongoing off-gassing proximity, cure-time criticality, and potential structural/recall issues on an older crib — a new crib meeting current safety standards is sometimes the more straightforward, lower-risk choice than a DIY refinish, particularly for a crib with any uncertain history or age.
Guides are researched against primary documentation and observable evidence. Archived material is rewritten, checked, and substantially improved before publication.