
How to Prime Wood for Acrylic Painting
Bare wood panels absorb paint unevenly and can leach tannins through the paint over time — gesso seals the surface first, the same way it does for canvas, and is what makes a wood panel behave predictably for acrylic work.
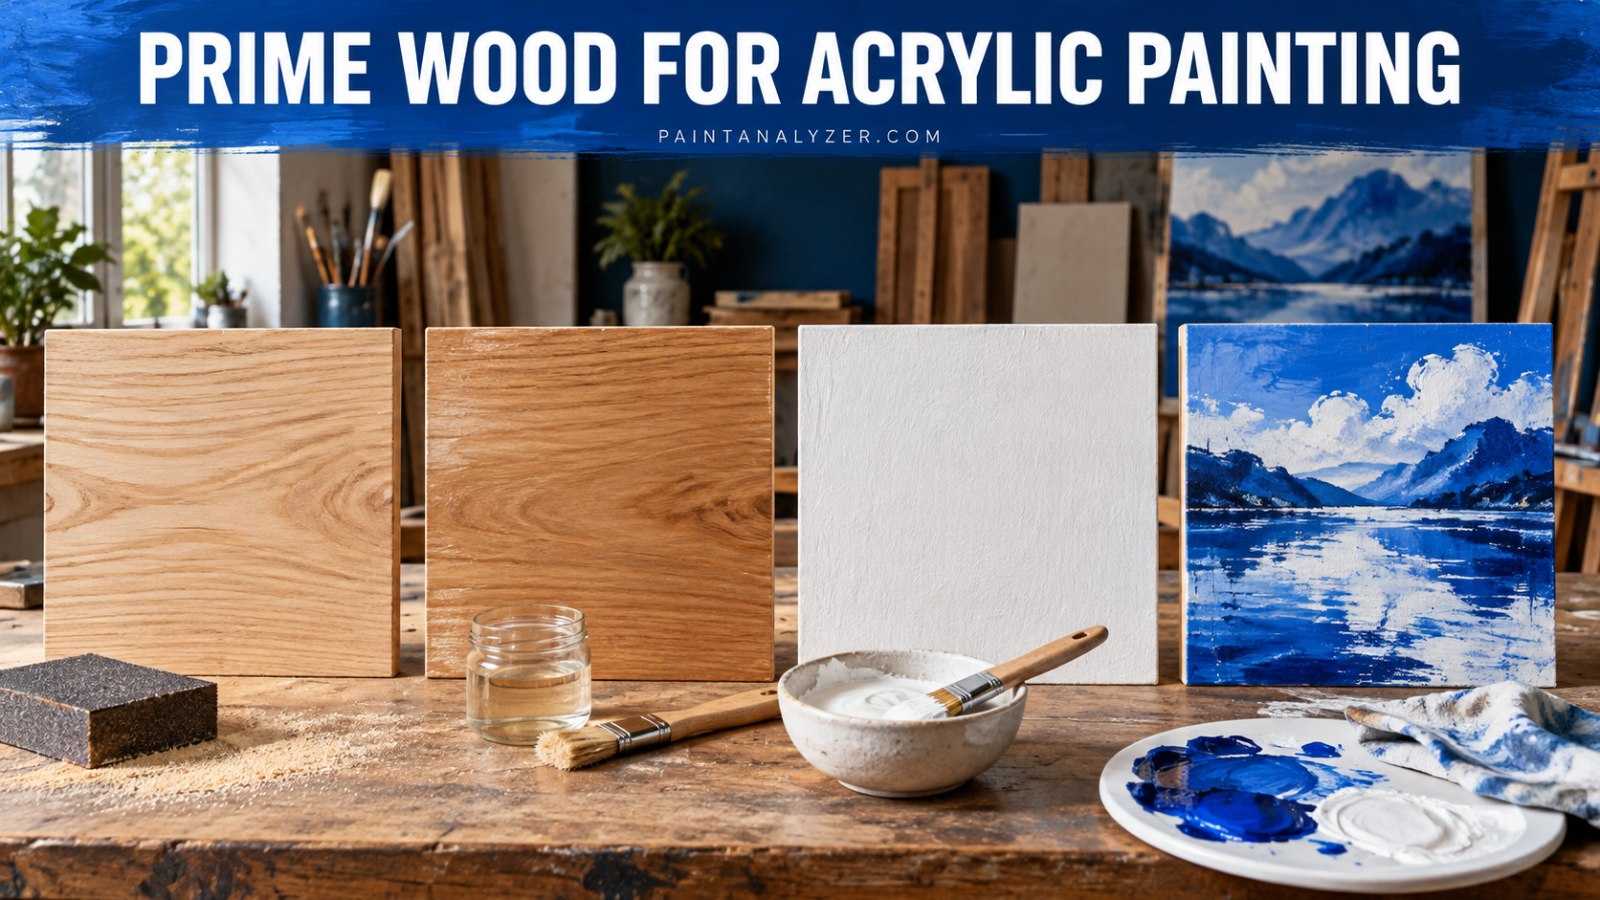
A raw wood panel is a popular alternative to canvas for acrylic painting — it's rigid, doesn't flex or sag the way stretched canvas can, and takes fine detail well. But it needs the same sealing step canvas does, plus one wood-specific concern canvas doesn't have: certain woods can leach tannins or resin through paint over time if left unsealed.
1. Sand the panel first
Start with 120-grit sandpaper to smooth any rough milling marks, then finish with 220-grit for a smooth base — gesso applied over a rough, splintery surface telegraphs that roughness right through to the painted surface, especially with only one or two thin coats.
2. Wipe away all dust
A tack cloth or a slightly damp (not wet) rag removes sanding dust — any dust left on the surface gets trapped under the gesso, creating small bumps and rough spots in the final painting surface.
3. Apply gesso in thin, even coats
Coat 1: apply thin, let dry fully
Light sand with fine sandpaper (optional, for a smoother finish)
Coat 2: apply in the perpendicular direction to coat 1
Coat 3 (recommended for wood, more than for canvas): seals more thoroughly
Wood generally benefits from one more gesso coat than canvas does — three coats rather than two is the more common recommendation specifically for wood panels, both for a smoother painting surface and because wood needs more thorough sealing against tannin bleed-through than a woven canvas fabric does.
4. Woods more prone to tannin or resin bleed-through
Certain woods — cedar, redwood, and some oak in particular — contain water-soluble tannins that can migrate through a water-based primer over time, showing up as yellow-brown discoloration or staining on the finished painting months or years later. Pine and knotty woods can also weep resin around knots. For these woods specifically, a dedicated stain-blocking primer (the same kind used to seal knots before painting trim) as a base coat under the gesso is worth the extra step; birch plywood and MDF panels are much lower-risk for this and often just need standard gesso.
5. Seal the edges and back too, for a full panel
Wood panels expand and contract with humidity more than canvas does — sealing only the painting surface and leaving the back and edges bare lets moisture move through unevenly, which over time can cause warping. Applying gesso (or at minimum a clear wood sealer) to the back and edges as well as the front keeps the whole panel absorbing and releasing moisture more evenly.
6. Let it cure fully before painting
Even once gesso feels dry to the touch, give it the full cure time on the label (commonly 24 hours) before painting — starting too soon means the paint's water content re-softens a gesso layer that hasn't fully cured, which can dull the seal's effectiveness against absorbency and tannin bleed-through.
Guides are researched against primary documentation and observable evidence. Archived material is rewritten, checked, and substantially improved before publication.