Brush strokes can be a frustrating issue for artists working with acrylic paint. Whether you’re a beginner or a seasoned pro, achieving a smooth, brush-stroke-free finish can be a challenge.
But, using certain strategies, it is possible to reduce brush strokes when painting with acrylics. These include selecting appropriate paint, thinning paint, layering thin coats of paint, testing different brush sizes, and more.
Here, I’ll cover 30 tips and techniques for avoiding brush strokes when painting with acrylics. From using the right paint and brush to thinning your paint and working in thin layers, these techniques will help you create professional-looking paintings every time.
So, if you’re ready to take your acrylic painting skills to the next level and say goodbye to pesky brush strokes, keep reading!
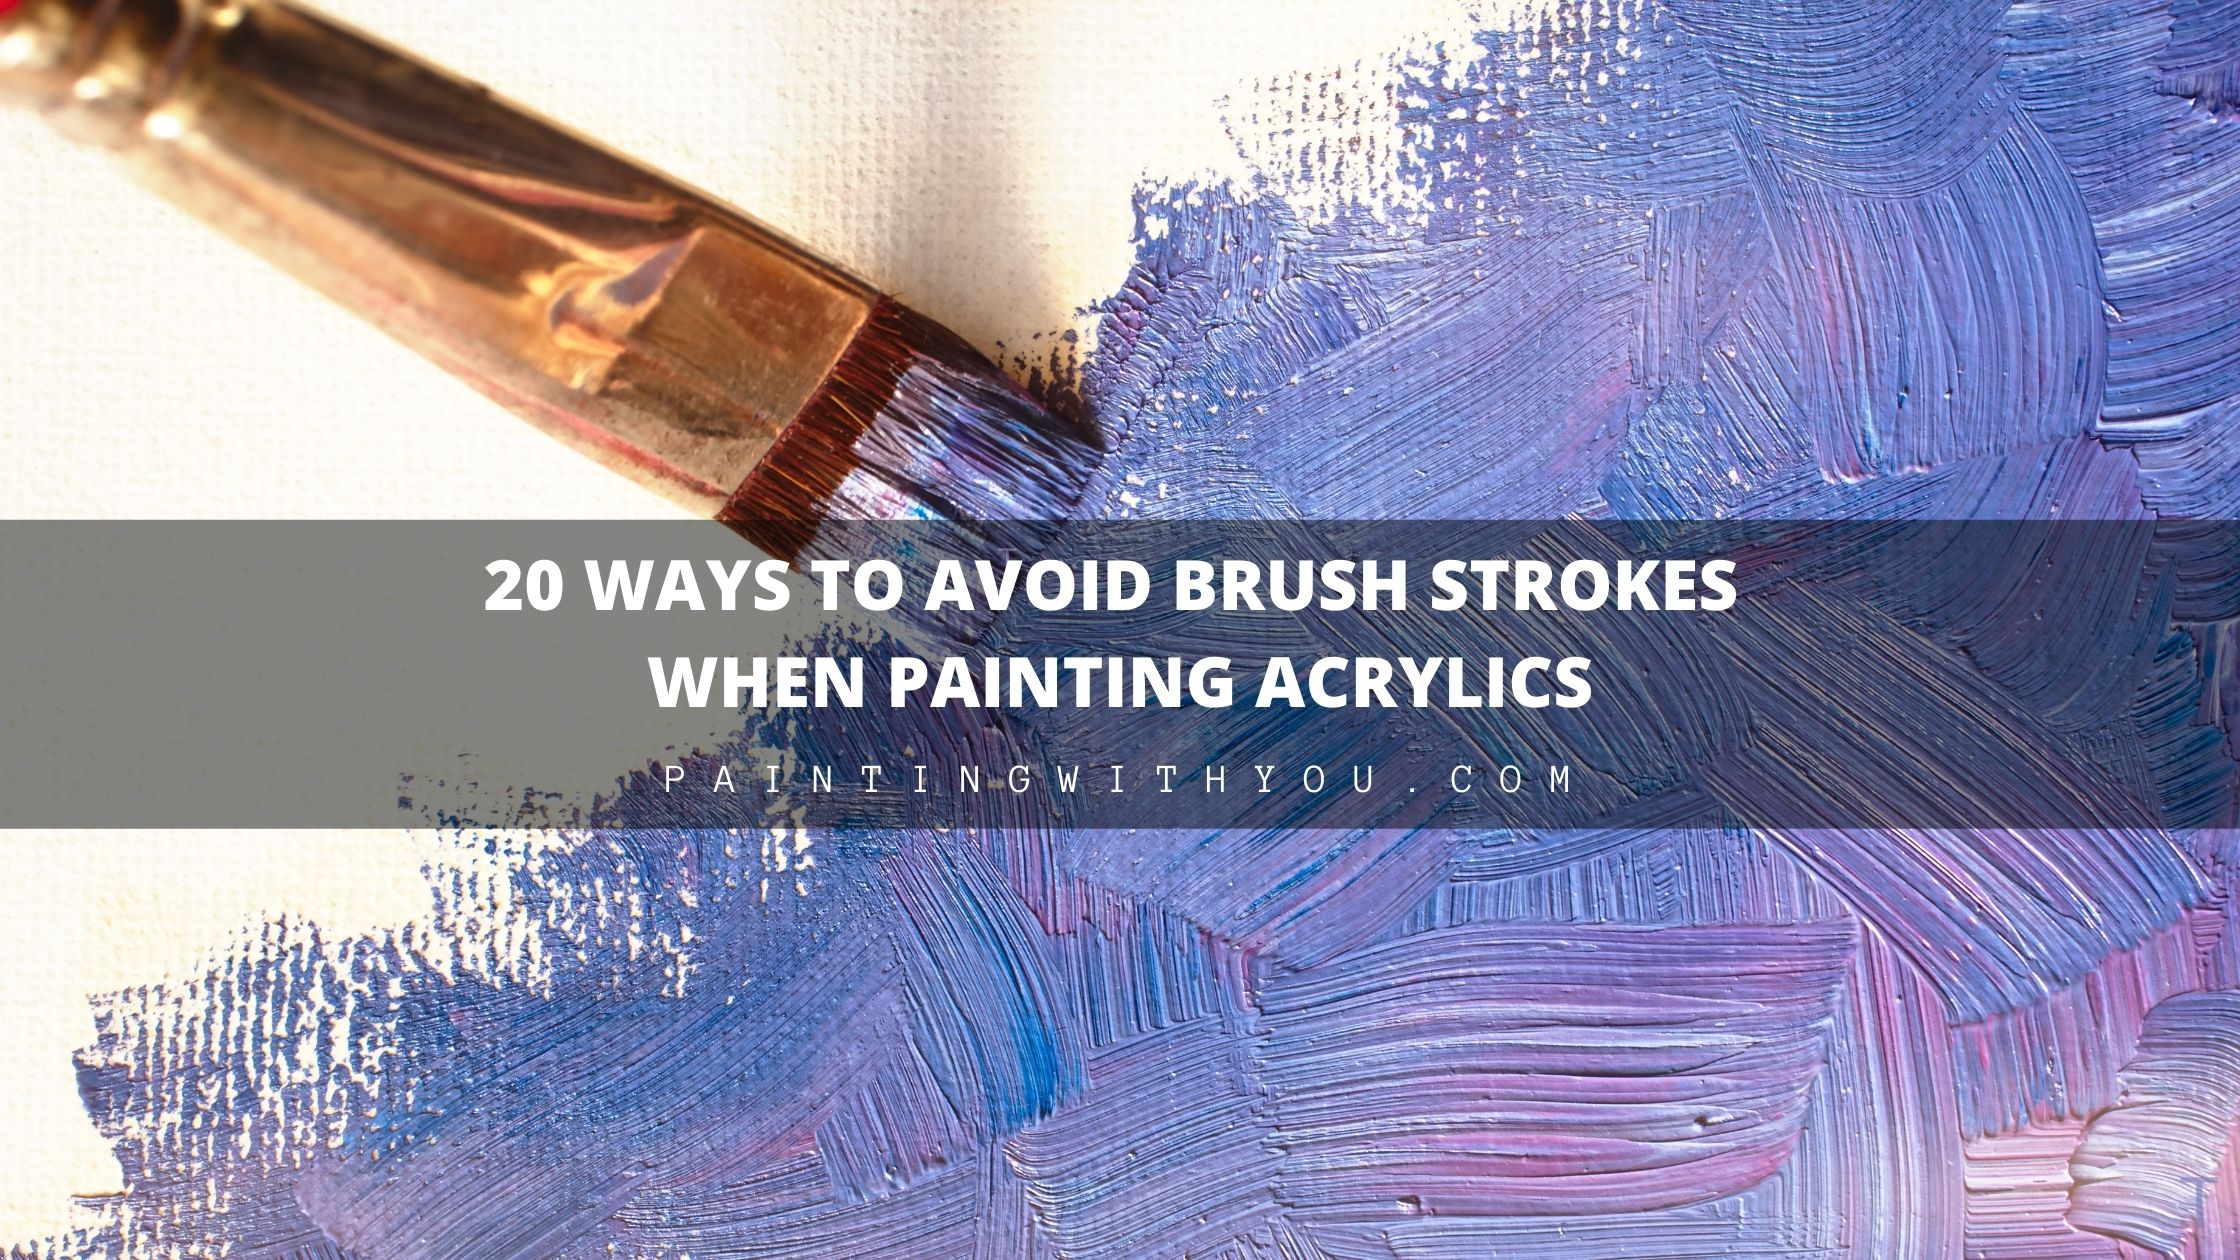
30 Ways to Avoid Brush Strokes When Painting Acrylics
There are a few simple methods you can use to reduce or eliminate them. Here are some tips on how to avoid brush strokes when painting with acrylics. But remember, practice makes perfect! So even if you don’t get your desired results the first time, keep trying and don’t give up.
Method 1: use the appropriate paint
High-quality acrylic paint is essential for achieving a smooth, brush-stroke-free finish. Professional-grade paints are typically more pigmented and have a smoother consistency, which can help reduce the appearance of brush strokes. When choosing paint, be sure to read reviews and ask other artists for recommendations.
Method 2: Consider using liquid acrylics
Fluid acrylics are a special type of paint with a smooth, flowing consistency. This makes them ideal for pouring and glazing, where a brush stroke-free finish is desired. To use fluid acrylics, you’ll need to mix them with a pouring medium to thin them out. There are several different pouring mediums available, each with its unique properties. Experiment with a few different mediums to find the one that works best for you.
Method 3: Paint should be thinned
Thinning your paint to the right consistency is key to avoiding brush strokes. This can be done by adding a medium or water to the paint. Thinning the paint allows it to flow more easily, which can help create a smooth finish. Flow improver and glazing medium are just two of the many available mediums. Try a few different ones to determine which medium suits you the best.
Method 4: Apply thin layers of paint
One of the keys to avoiding brush strokes when painting with acrylics is to work in thin layers. Applying paint too thickly can result in longer drying times and increased brush strokes. Instead, try building up the color gradually with thin layers.
You will have more control over the outcome and be able to finish the project more smoothly as a result. You can use a few techniques to paint thin layers, such as the dry brush technique or glazing technique. The dry brush technique involves loading a dry brush with a small amount of paint and lightly dragging it over the surface.
This will create a textured, almost transparent effect. The glazing technique involves mixing a small amount of glazing medium with the paint and applying it in thin layers. This technique can be especially helpful for creating a smooth, translucent finish.
Method 5: try a sprayer
Paint sprayers are a great tool for achieving a smooth, even finish with minimal brush strokes. To use a paint sprayer, you’ll need to mix the acrylic paint with a medium to thin it out. Choose a medium that is compatible with the paint and will help create a fine mist when sprayed.
Method 6: Make use of a roller
Rollers are another great tool for applying acrylic paint with minimal brush strokes. They are available in various sizes and textures and can apply paint to large areas quickly and evenly. When using a roller, choose the right roller cover for the job and apply the paint in a W pattern for the most even coverage.
Method 7: select the correct brush
Using the right brush for the job is essential for avoiding brush strokes. Different brushes are designed for different purposes, and choosing the right brush can make all the difference in achieving a smooth finish.
Round brushes are a good choice for detailed work and for creating thin, precise lines, while flat brushes are good for covering large areas and creating smooth, even brushstrokes.
Method 8: Use the appropriate paint amount
Using too much paint on the brush can lead to thick, gloopy brushstrokes and an uneven finish. Instead, aim to use just the right amount of paint to cover the surface. This can help create a smooth, even finish and enhance the look of the painted object.
To do this, dip the brush into the paint, then lightly flick off the excess paint onto a piece of cardboard or newspaper. This will help to remove any excess paint, ensuring that the right amount of paint is applied to the object. Take care not to flick off too much paint, as this can make the painted area patchy.
Method 9: Maintain a light touch
Applying too much pressure when using a brush can result in prominent brush strokes. Instead, try to use a light touch and let the weight of the brush do the work. This will help create a smoother, more even finish.
Method 10: Primarily focus on the details
Painting the small details first can help you avoid overloading the brush with paint and creating unwanted brush strokes. This technique can be especially helpful when working on a detailed piece. Simply start with the small details and work toward the larger areas.
Method 11: between layers, allow the paint to dry
Painting over wet paint can mix colors and create unwanted brush strokes. Instead, allow each layer of paint to dry completely before adding the next layer. This will give you more control over the final result and help you achieve a smoother finish.
Method 12: Avoid stretching the paint
“Stretching” the paint refers to thinning it out too much, which can result in an uneven, patchy finish and increased brush strokes. To avoid this, use the right amount of paint and medium.
Method 13: Paint in one supervision
Maintaining a consistent direction when painting can help create a smooth, even finish. Avoid going back and forth or crisscrossing with the brush, as this can create unwanted brush strokes. Instead, choose a direction and stick with it.
Method 14: Go Parallel
Painting in a horizontal direction can help avoid drips and maintain an even finish. Simply lay your canvas flat and work from left to right or vice versa.
Method 15: balance your painting
Having a stable surface to work on can help you achieve a smoother, more even finish. Consider using an easel or other support to hold your canvas in place while you paint.
Method 16: Apply two coats
Applying two coats of paint can help achieve a more even, consistent finish. Allow the first coat to dry completely before adding the second.
Method 17: Dry the paint
Allowing the paint to dry completely between layers before adding any additional details is crucial for avoiding brush strokes. Acrylic paint Allowing the paint to dry completely between layers before adding any additional details is crucial for avoiding brush strokes. Acrylic paint dries quickly, but it’s still important to give it enough time to set.
Depending on the humidity and temperature, it can take anywhere from 15 minutes to an hour for acrylic paint to dry. Be patient and let the paint dry before moving on to the next step.
If you’re in a rush, you can use a hair dryer in a cool setting to speed up the drying process. Just be sure to keep the hair dryer moving and avoid focusing on any one area for too long, as this can cause the paint to become too hot and begin to bubble.
Method 18: Apply sandpaper
Sanding the surface of your painting can help smooth out any brush strokes or imperfections. Use fine-grit sandpaper and sand gently in a circular motion. Be sure to wipe away any dust before adding additional layers of paint.
Method 19: Learn effective brush techniques
Mastering good brush techniques can go a long way in helping you avoid brush strokes. Practice using different brushstrokes (e.g., long, short, circular strokes) to see which ones work best for you.
Method 20: Paint in sections
Instead of painting an entire canvas or surface all at once, consider breaking it up into smaller sections. This can help you focus on one area at a time and achieve a smoother, more even finish.
Method 21: Clean up the area
Properly preparing the surface, you’re painting on can help you achieve a smoother, more even finish. Be sure to clean and prime the surface according to the manufacturer’s instructions before you begin painting.
Method 22: Do not combine various types of paint
Mixing different types of paint (e.g., acrylic and oil) can result in an uneven, inconsistent finish and increased brush strokes. Instead, stick to using one type of paint for your project.
Method 23: Use a palette knife
A palette knife can be a great tool for creating a smooth, brush-stroke-free finish. Simply scoop up a small amount of paint with the knife and apply it to the surface in a smooth, even layer.
Method 24: Utilize a soft brush to blend your brushstrokes
Using a soft brush (e.g. a squirrel hair brush) can help blend brushstrokes and create a smooth, even finish. Lightly drag the brush over the paint’s surface in a circular motion to blend.
Method 25: Spray some water on the paint
Adding a small amount of water to the paint can help create a smoother, more even finish. Mist the paint with a spray bottle and work the water into the paint with the brush.
Method 26: prior to painting, try brush and paint
Before diving into a full painting project, consider testing the brush and paint on a smaller scale. This can help you get a feel for how the brush and paint will behave and allow you to make any necessary adjustments before starting the main project.
Method 27: Cover up errors
If you end up with unwanted brush strokes or other imperfections in your painting, don’t panic! Let the paint dry completely, and then use a small brush to touch up the area.
You can also use a palette knife or a piece of sandpaper to smooth out rough areas. If the mistake is more serious, you may need to start with a fresh layer of paint. Whatever you do, don’t try to paint over wet paint, or you’ll risk creating even more brush strokes. Be patient and take the time to fix any mistakes before moving on to the next step.
Method 28: Experiment with different brush sizes
Using a brush that is too large or too small for the job can result in unwanted brush strokes. Experiment with different brush sizes to find the one that works best for your project.
Method 29: Tip-off
“Tipping off” refers to lightly dragging the tip of a dry brush over the paint’s surface to smooth out brush strokes. This technique can be especially helpful for blending and smoothing out rough areas.
Method 30: Use a spray fixative
A spray fixative can be used to help set the paint and reduce the appearance of brush strokes. Hold the can about 8-12 inches away from the surface and apply a light mist over the paint. Be sure to follow the manufacturer’s instructions for proper use.
Can Protecting an Acrylic Painting Help in Avoiding Brush Strokes?
Protecting acrylic paintings can indeed contribute to minimizing the appearance of brush strokes. By applying a protective layer such as varnish or resin, the brush strokes become less noticeable as they blend into a smoother surface. This not only enhances the overall aesthetic appeal but also helps preserve the artwork’s longevity.
Is Using Watercolor Techniques Effective for Avoiding Brush Strokes in Acrylic Painting?
When it comes to avoiding brush strokes in acrylic painting, incorporating watercolor techniques offers a potential solution. By using watercolor with acrylics, artists can achieve smoother finishes and blend colors seamlessly. This combination allows for subtle transitions and a more delicate paint application, effectively minimizing visible brush strokes in the final artwork.
Does Adding Water to Acrylic Paint Help to Reduce Brush Strokes?
Adding water to acrylic paint can indeed help to reduce brush strokes. When the paint is mixed with water, it becomes more fluid and easier to work with, resulting in smoother brush application. However, it’s important to find the right balance, as adding too much water may affect the paint’s overall adhesion and opacity. Experimentation is key to achieving desired results with adding water to acrylic paint.
Conclusion
Painting with acrylics can be frustrating when managing brush strokes, but achieving a professional-looking result is achievable with the right techniques and tools.
Choosing the right paint and brush is key, as are techniques such as thinning your paint, working in thin layers, and using a paintbrush that is suited to the painting surface. To make the job easier, we’ve put together a series of 30 tips and techniques to help you paint with acrylics in a way that will minimize the appearance of brush strokes.
Through understanding the basics of brush selection, paint thinning, and the application of acrylic paints, these tips will ensure you create a professional-looking piece of art.