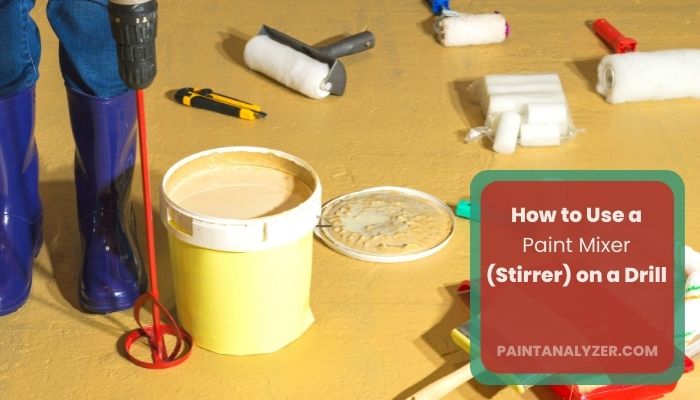
Whether you’re a professional painter or a do-it-yourselfer, knowing how to use a paint mixer (stirrer) on a drill can save you time and energy.
A paint mixer is a handheld tool that attaches to the chuck of a drill. It has paddles that spin when the drill is turned on, mixing the paint quickly and thoroughly.
If you’re painting a large area or using thick paint that’s difficult to stir, a paint mixer can be a real lifesaver. Using a paint mixer is also a good idea when you’re trying to match a custom color.
How can you connect a drill to a paint mixer?
One of the best ways to mix paint is to use a drill-mounted paint mixer. These handy little attachments are great for getting a thorough mix, and they’re not too difficult to use. Here’s a quick guide on how to attach a paint mixer to your drill:
Step 1: Select the correct attachment
There are a few different types of paint mixer attachments available on the market. Select the one that is most appropriate for the size and type of paint container you will be using.
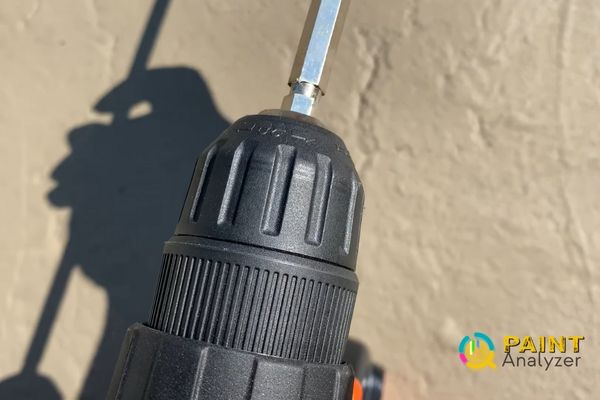
Step 2: Affix the attachment to the drill
Carefully follow the instructions that come with the attachment. You will need to first insert the drill bit into the paint mixer attachment. Then, screw the attachment onto the drill.
Step 3: Place the paint container on a stable surface
Open the lid of the paint container. Place the container on a surface that is level and stable. If possible, lay down a tarp or other form of drop cloth to protect the area around the container from paint splatters. Use a stir stick to mix the paint thoroughly, then pour the desired amount into your paint tray.
Step 4: Insert the paint mixer attachment into the paint
Slowly lower the paint mixer attachment into the paint, being careful not to splash any out of the container. You want to avoid making a mess, so take your time and be patient. Lower the mixer all the way into the paint, making sure it’s fully submerged.
Step 5: Turn on the drill
Start the drill on a low setting. Slowly increase the speed of the drill until the paint is mixed to the desired consistency.
How to Use a Paint Mixer on a Drill? A step-by-step guide
When you’re looking to add more power to your next mixing project, you might wonder how to use a mixer for a drill. While it might seem like a daunting task, it’s actually pretty simple. Here’s what you need to know:
Step 1: Choose the right drill bit
Make sure you have the proper drill bit. A bit that is the same size as the mixer’s input shaft is required. Not having the proper drill bit can cause damage to the mixer and will not allow it to function properly.
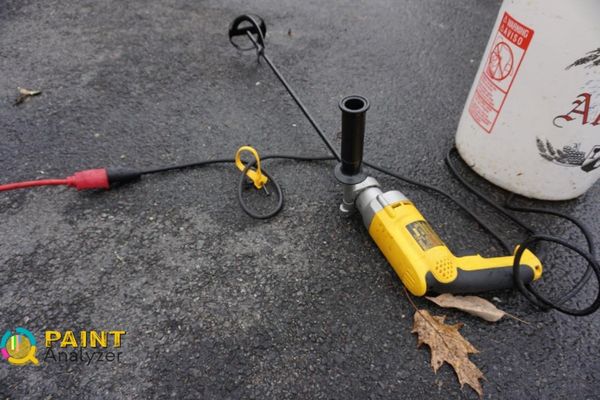
Step 2: Connect the drill to the mixer
Next, you’ll need to connect the drill to the mixer. The best way to do this is to use a coupling nut. Screw the coupling nut onto the input shaft of the mixer. Then, use a wrench to tighten it in place.
Once the coupling nut is tight, you can connect the drill to the mixer. Simply fit the drill’s chuck onto the coupling nut and tighten it in place.
Step 3: Turn on the drill
Now it’s time to turn on the drill and start mixing! Begin by setting the drill to a low speed. Then, slowly increase the speed until the mixer is turning at the desired speed.
Step 4: Mix your ingredients
Now that the mixer is up and running, you can start adding your ingredients. Simply pour them into the mixing bowl and let the mixer do its work!
Step 5: Turn off the drill
When you’re finished mixing, be sure to turn off the drill. Then, disconnect the drill from the mixer and remove the coupling nut.
Can a Paddle Mixer Be Used With a Drill?
Yes, you can use a paddle mixer with a drill. There are adapters available that will allow you to attach the paddle mixer to the chuck of your drill. This is a great way to mix small batches of material, such as joint compound or paint.
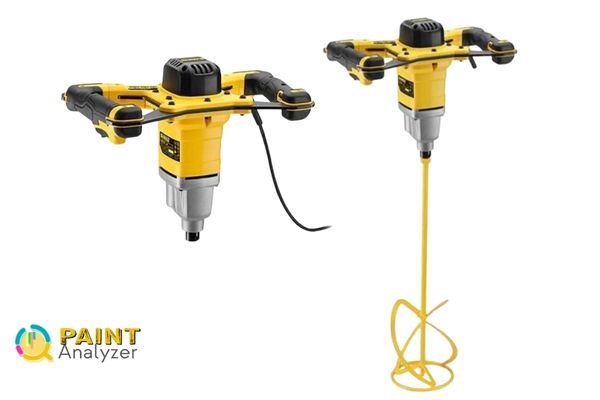
They are much faster and more efficient than mixing by hand, so this is a great option if you need to mix a small amount of material quickly.
How Do You Use a Drill to Shake a Paint Can?
When you want to shake a paint can with a drill, you must ensure that the can is properly secured. You will need to put the can in a vise or clamp it down, so it does not move around. Next, take your drill and put the bit into the top of the can.
Slowly start to drill into the can while holding it steady. As you are drilling, the paint inside will start to mix and become agitated. Once the paint is fully mixed, you can remove the drill bit and screw on the lid tightly.
Is Using a Paint Mixer on a Drill the Same as Shaking or Stirring Paint?
Using a paint mixer on a drill is not the same as traditional paint shaking techniques or stirring. While shaking or stirring mixes the paint manually, a paint mixer on a drill provides a more efficient and thorough mixing process, saving time and effort.
How Can you Mix Paint Without Using a Drill?
You probably think that the only way to mix paint is to use a drill. No, another way is much simpler and doesn’t require any special equipment.
Here’s what you’ll need:
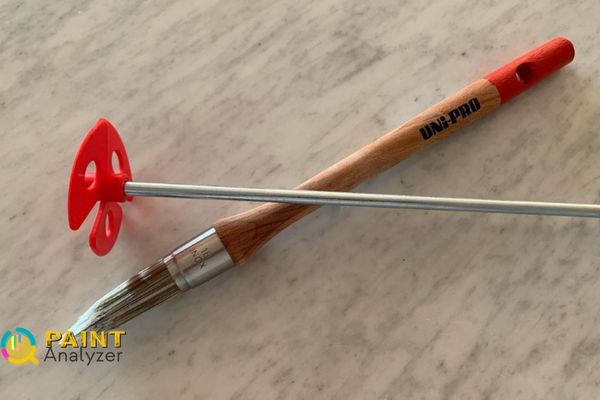
- Paint
- A container to mix the paint in
- A stirrer
Step 1: Pour the paint into the container
Fill the container with paint. Make sure to mix the paint cans together if you’re using more than one before adding them to the container.
Step 2: Add the stirrer
Next, add the stirrer to the container. This will help to evenly mix the paint and ensure that the finished product is of the highest quality.
Step 3: Stir the paint
Now, simply stir the paint until it is evenly mixed. This may take a few minutes, but it is worth it to get a smooth, even finish.
And that’s it! You’ve now mixed paint without using a drill
How to Use a Drill to Stir Paint Properly?
Conclusion
When painting a large surface, you’ll need to mix your paint thoroughly to avoid streaks and inconsistencies. The best way to do this is with a paint mixer, which you can attach to your drill. Make sure the drill is set to a low speed, and gradually increase the speed as needed.
Be careful not to over-tighten the mixer, or you could strip the threads. After completely mixed, remove the mixer from the bucket and give it a quick rinse in some water.
