
How to Restore Weathered Cedar Siding Step by Step
Weathered cedar can often be renewed, but cleaning alone is not the whole job. First fix moisture and rot, identify mildew or extractive stains, clean gently, let the wood dry, then apply a cedar-compatible finish.
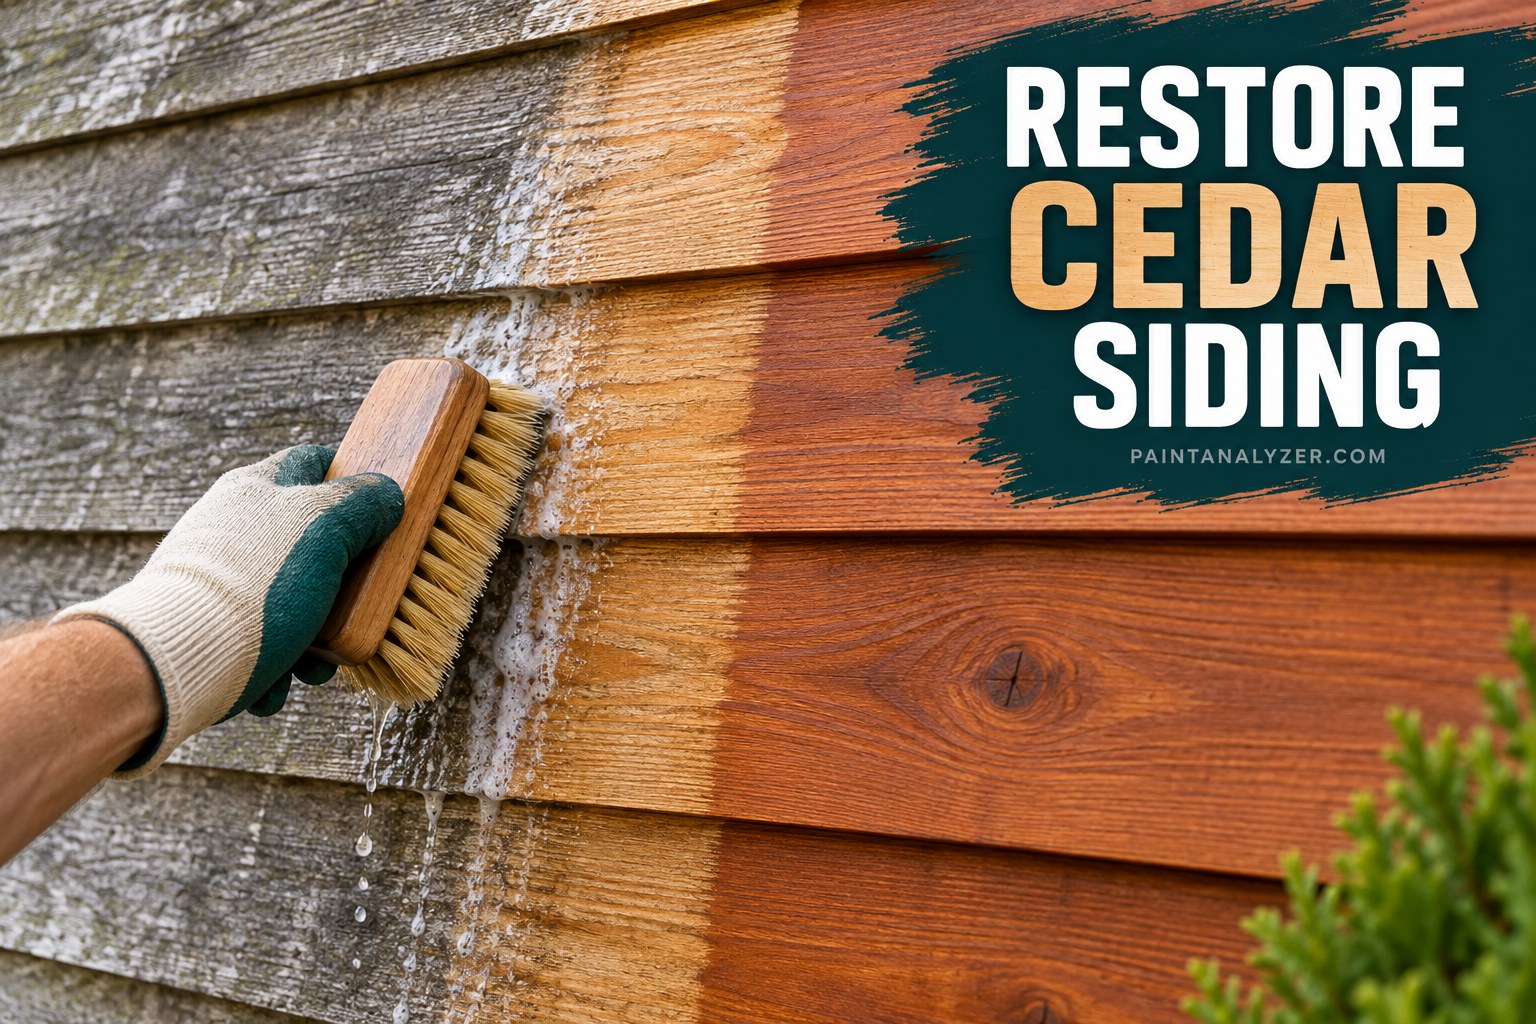
Weathered cedar siding can often be restored, but the right process depends on what you are actually seeing. Uniform silver-gray wood is usually weathering; black or brown spotting may be mildew; brown streaks can be cedar extractives carried by moisture; blue-black marks near fasteners can be an iron reaction; and peeling paint points to a coating or moisture problem. Do not attack every condition with a pressure washer or strong bleach.
Start by fixing leaks, rot, failed flashing, or chronic wetting. Then clean with the least aggressive method that solves the contamination, remove loose failed finish where necessary, rinse, allow the siding to dry completely, and refinish with a product intended for exterior cedar. High-pressure washing can damage cedar fibers and make the next finish harder to apply successfully.
Before cleaning, diagnose the siding
| What you see | Likely issue | First response |
|---|---|---|
| Even silver-gray surface | UV/weathering | Clean; consider restoration/brightening if a warmer wood tone is desired |
| Black or dark brown spots | Possible mildew | Confirm and use a mildew-cleaning method appropriate for cedar |
| Brown streaks or blotches | Possible extractive bleeding/water staining | Find and correct moisture source before treating the stain |
| Blue-black marks near nails/metal | Possible iron/extractive reaction | Address incompatible/corroding metal and clean the stain appropriately |
| Peeling, blistering, flaking | Failed coating, often worsened by moisture | Correct moisture and remove loose failed coating before refinishing |
| Soft wood, deep checks, fungal decay | Structural deterioration | Repair/replace affected material; do not hide it under stain |
Tools and materials
- Garden hose with controlled spray
- Soft or non-ferrous bristle brush
- Phosphate-free mild cleaner or cedar/wood cleaner
- Commercial mildew cleaner or oxygen-bleach solution used according to its instructions
- Oxalic-acid wood cleaner/brightener only when appropriate for extractive, water, or iron staining
- Plastic sheeting and plant protection as required by the cleaner label
- Scraper and sandpaper for localized failed finish
- Exterior cedar-compatible stain/paint system and primer where required
How to restore weathered cedar siding
1. Repair moisture and damaged wood first
Check gutters, roof-to-wall intersections, flashing, caulked joints, sprinklers, grade clearance, and any area that stays damp. Extractive bleeding is commonly moisture-related, and peeling can be worsened by moisture behind the coating. Replace rotten or structurally unsound boards rather than coating over them.
2. Remove loose dirt with gentle washing
Begin with warm water and a mild, appropriate cleaner. Work in manageable sections and use a soft or non-ferrous brush where agitation is needed. Protect nearby plants and materials according to the cleaner instructions. Rinse thoroughly.
3. Treat mildew separately from gray weathering
If the discoloration is mildew, use a commercial mildew remover or an oxygen-bleach cleaning method suitable for cedar. Real Cedar specifically warns that aggressive scrubbing with caustic bleach can remove surface fibers and leave the wood rough and unnaturally pale. Never mix bleach with ammonia-containing cleaners.
4. Use oxalic acid only for the problems it can solve
Oxalic-acid products can help with water, tannin/extractive, and some iron staining, but they are not a substitute for mildew treatment. Follow the product's dilution, dwell-time, PPE, and rinse directions. Correct the moisture source first when extractive bleeding is involved.
5. Do not use high pressure as a shortcut for stripping
Western Red Cedar Lumber Association guidance warns against using power washing to remove coatings because it can severely damage wood fibers and impair subsequent finish adhesion. If an old paint or solid-color stain is peeling, remove failed material using a method appropriate to the coating and siding condition rather than blasting the wood.
6. Let the cedar dry completely
After wet cleaning, give the siding enough drying time for the actual weather conditions and finish requirements. Do not rely on a fixed number of hours. The finish manufacturer may specify a maximum wood moisture content or other substrate conditions; verify them before coating.
7. Sand only where it improves the substrate
Feather rough edges around sound remaining coatings and smooth localized raised fibers or splinters. For smooth-planed, flat-grained cedar, Real Cedar notes that scuff sanding can improve coating performance; clean textured cedar may not need the same preparation. Remove sanding dust before finishing.
8. Apply the finish system the cedar actually needs
Transparent and semi-transparent stains preserve more wood character but generally provide less hiding of uneven color. Solid-color stain and paint provide more uniform appearance but require sound preparation. When painting cedar, use a primer specifically recommended to control cedar extractive staining where the coating system calls for one.
When not to DIY
- There is widespread rot, sheathing damage, or evidence of water behind the siding.
- The building is tall enough that safe access requires professional staging or fall protection.
- Old painted siding may contain lead and the work would disturb it.
- A previous coating is failing over large areas and removal method/product compatibility is uncertain.
Common mistakes
- Using a pressure washer aggressively because the cedar looks gray.
- Calling every dark stain “mildew” and bleaching it without diagnosis.
- Brightening extractive stains without correcting the moisture source.
- Applying finish before wet siding has dried to the coating manufacturer's requirements.
- Using ordinary ferrous wire brushes or incompatible fasteners that can create iron staining.
Check cedar moisture before refinishing
Real Cedar's finishing guidance says moisture content should be checked and, for new cedar, should not be above 20% when finishing. Weathered siding that has just been washed can remain much wetter than it looks at the surface. For a restoration project, use the finish manufacturer's moisture limit if it is stricter and take measurements in representative shaded and exposed areas rather than relying on a fixed “wait two days” rule.
Do you need to remove the gray color?
Gray weathering is not automatically a defect. If the owner likes the natural weathered appearance and the wood is sound, the goal may be cleaning and moisture management rather than trying to force every board back to a fresh-cut color. Brightening is most useful when the intended finish needs a more uniform wood tone or when specific water/tannin/iron stains are being treated.
Painted cedar needs a different restoration path than stained cedar
Peeling paint or solid-color stain requires assessment of adhesion and moisture. Loose coating must be removed to a sound edge. Bare cedar exposed by the repair may need a stain-blocking primer compatible with cedar extractives before repainting. By contrast, a weathered penetrating stain may require cleaning and recoating rather than film removal. Identify the existing finish before choosing a stripper, sander, or new coating.
Protect nearby materials during chemical cleaning
Oxalic acid, bleach-based cleaners, and paint strippers can damage metals, plants, glass coatings, masonry, and adjacent finishes. Follow the product label for PPE, dilution, plant pre-wetting/protection, containment, dwell time, and rinsing. Never mix bleach with ammonia-containing cleaners. Collect or manage runoff as required by the product label and local rules.
How to judge whether the siding is ready for finish
- The wood is structurally sound, without soft decay that needs replacement.
- The moisture source behind extractive bleeding or peeling has been corrected.
- Mildew has been killed/removed rather than simply hidden.
- Loose fibers, dirt, and failed coating have been removed without gouging the cedar.
- The surface has dried to the selected finish manufacturer's moisture requirement.
- A small finish test area shows acceptable color and adhesion before the whole elevation is coated.
Bottom line
Good cedar siding restoration is controlled surface preparation, not aggressive cleaning. Diagnose the discoloration, stop moisture problems, clean with the least damaging method, let the wood dry, remove only failed material that must come off, and then apply a finish system designed for cedar and the exposure.
Related guides
Sources and further reading
Guides are researched against primary documentation and observable evidence. Archived material is rewritten, checked, and substantially improved before publication.