
How to Fix and Paint Walls After Removing Wallpaper
Wallpaper removal almost always leaves behind adhesive residue and minor drywall damage — addressing both properly before priming is what determines whether the new paint job looks smooth or shows every flaw underneath.
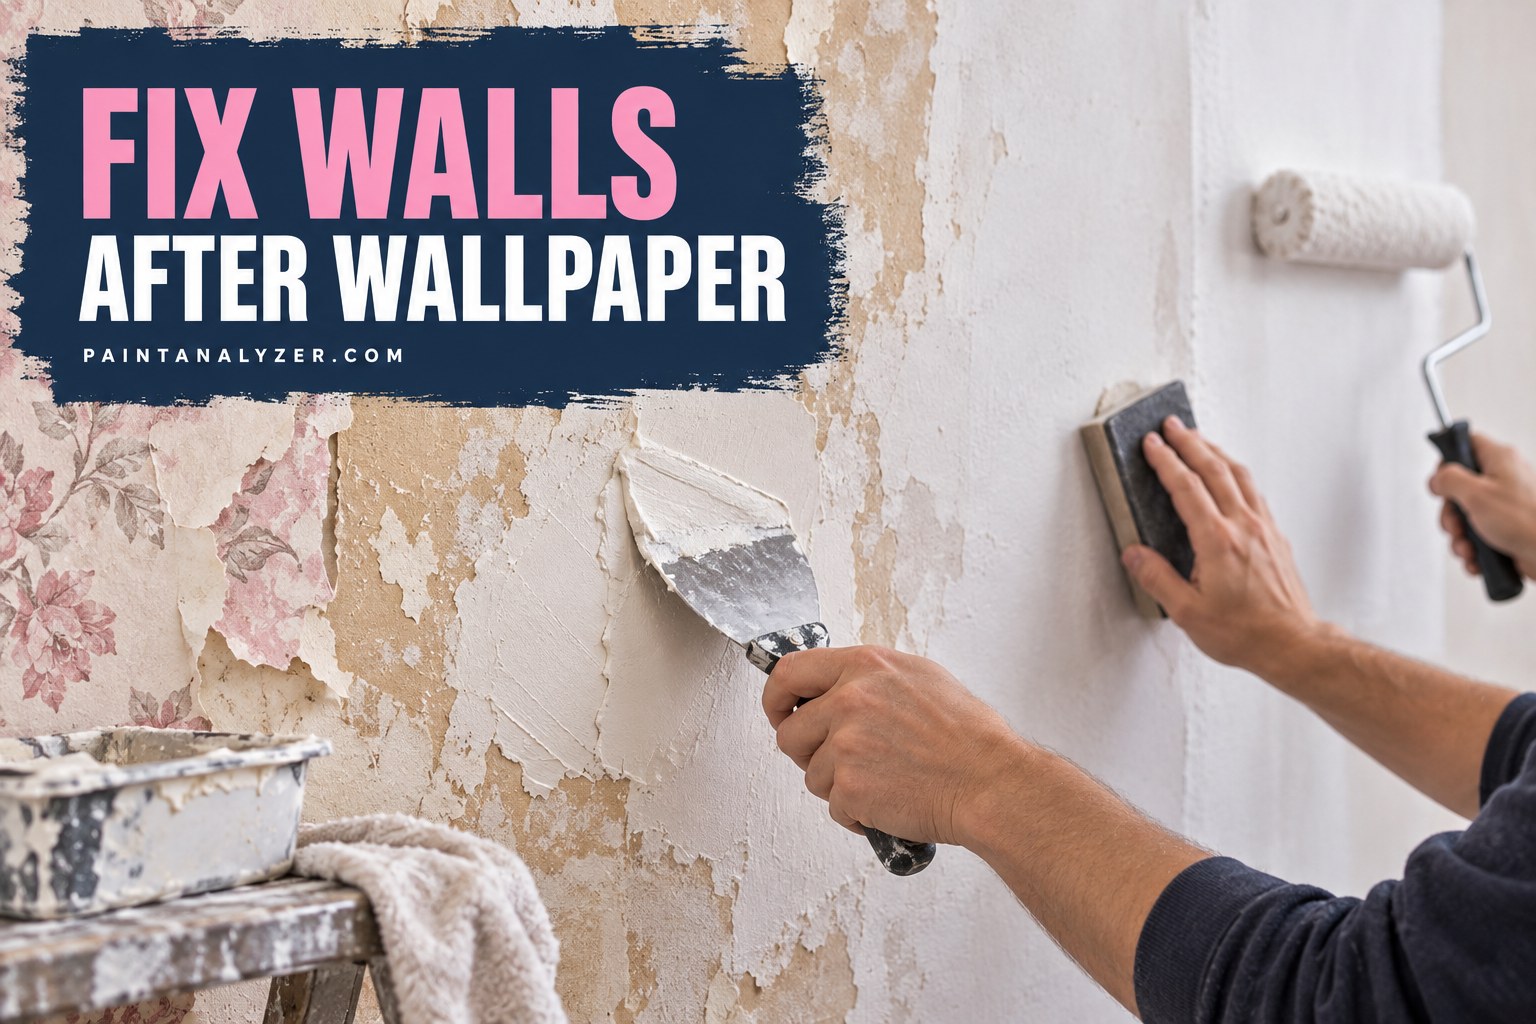
Walls that have had wallpaper removed almost always need some repair work before they're ready for paint — leftover adhesive residue, minor drywall damage from the removal process, and an inconsistent surface texture are all common, and addressing each properly is what separates a smooth final paint job from one that shows every flaw underneath.
1. Remove all remaining adhesive residue first
Any leftover wallpaper paste or adhesive, even if it looks minor, can interfere with paint adhesion and cause it to peel later — washing the wall thoroughly with warm water and a bit of fabric softener or a dedicated adhesive remover, then rinsing well, ensures no residue remains before moving forward.
2. Let the wall dry completely
After washing off adhesive residue, giving the wall ample time to dry completely (drywall in particular can absorb some moisture during the washing process) before any repair or priming work prevents trapping moisture under the new paint film.
3. Repair any drywall damage from the removal process
Wallpaper removal commonly causes minor drywall paper tearing or gouging, especially if it was removed dry or too aggressively — filling any torn or gouged spots with joint compound, letting it dry, and sanding smooth (following standard drywall repair technique) addresses this before painting.
4. Address any texture inconsistency
Areas where wallpaper adhesive soaked into the drywall paper, versus areas that came clean, can create a subtle texture or sheen difference visible once primed — a light skim coat of joint compound over the whole wall, sanded smooth, evens this out for a more uniform final surface.
5. Prime with a stain-blocking or wallpaper-specific primer
A stain-blocking primer (oil-based or shellac-based) helps seal any remaining trace adhesive residue and evens out the surface's absorbency before the topcoat — skipping this step and painting directly over a wall that's had wallpaper removed is one of the most common causes of an uneven, patchy-looking final paint job.
6. Sand lightly between primer and topcoat
A light sanding after the primer has dried, following standard painting prep practice, smooths out any remaining texture inconsistency and gives the topcoat an even surface to adhere to.
7. Apply the topcoat once prep is fully complete
With adhesive residue removed, drywall damage repaired, texture evened out, and a proper primer applied, the final topcoat goes on the same as any standard interior wall painting project — the extra prep work here is what makes the difference in the final result looking genuinely smooth rather than showing the wall's wallpaper history underneath.
Guides are researched against primary documentation and observable evidence. Archived material is rewritten, checked, and substantially improved before publication.