
Can You Sand Acrylic Paint?
Yes, once fully cured — sanding acrylic paint smooths brush marks, blends layers, and preps for a topcoat, but sanding it before it's truly dry just gums up the sandpaper and smears the surface.
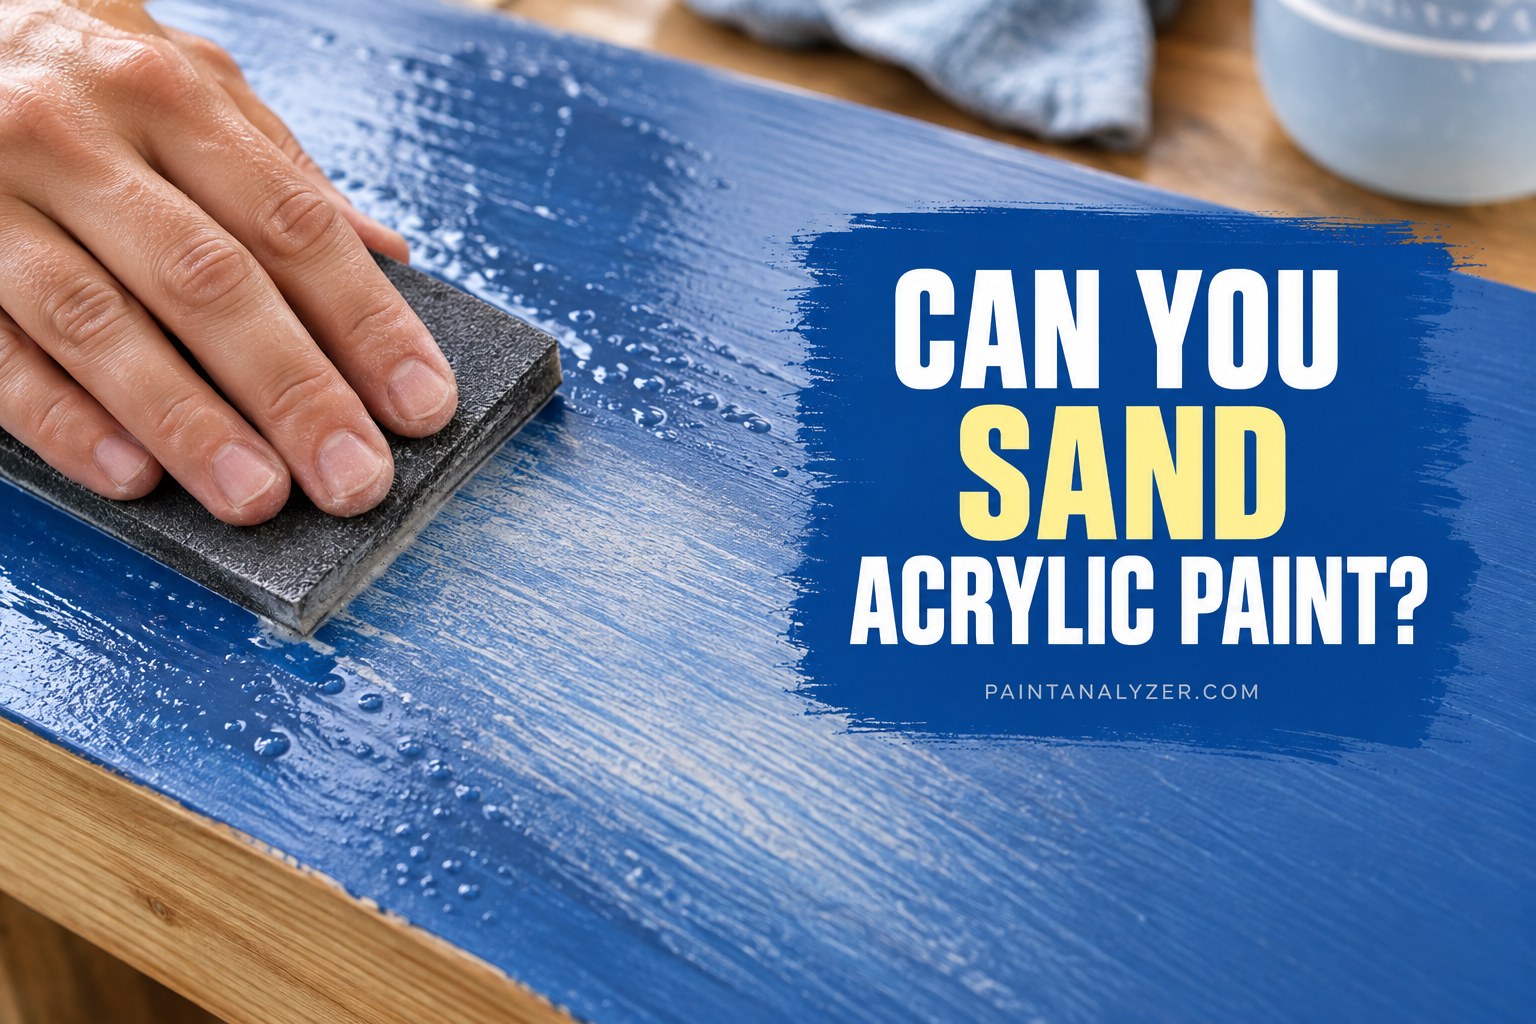
Sanding acrylic paint is a standard technique for smoothing texture, blending between coats, or prepping a surface for a topcoat — but it needs the paint to be genuinely, fully cured first, not just dry to the touch, or the sandpaper gums up and smears the still-soft paint rather than cutting it cleanly.
1. Why timing matters: dry to touch isn't the same as ready to sand
As covered for acrylic paint's dry and cure timeline generally, acrylic can feel dry to the touch within an hour while remaining genuinely soft underneath for considerably longer — sanding too early produces a gummy, smeared mess rather than clean, fine dust, and can actually damage the still-curing paint film rather than smoothing it.
2. When sanding acrylic paint is actually useful
- Smoothing brush strokes or roller texture — a light sand between coats evens out minor texture before the next coat goes on.
- Blending layers in a multi-layer painting technique — some acrylic painting and mixed-media techniques use sanding between layers deliberately for texture or blending effects.
- Prepping for a topcoat or additional finish — as covered for painting over acrylic generally, a light scuff-sand gives a subsequent layer (a different paint, a varnish, a sealant) better adhesion.
- Removing drips, runs, or unwanted texture — correcting a flaw after the paint has fully cured, rather than trying to fix it while still wet.
3. The right grit for sanding fully cured acrylic paint
320-400 grit for a light smoothing/scuff pass
600+ grit (often wet-sanded) for a very fine, glass-smooth finish
These are fine grits, similar to the range covered for scuffing between coats of other paint types — acrylic paint's relatively soft, flexible cured film doesn't need (and can be damaged by) a coarse grit meant for leveling wood or removing thick material.
4. Wet-sanding for the smoothest possible result
For a very fine finish, wet-sanding (sanding with the surface kept lightly wet, using a very fine grit) reduces dust and produces a smoother result than dry sanding at the same grit — a technique worth knowing specifically for a project where a genuinely glass-smooth acrylic surface is the goal.
5. Cleaning up dust afterward
Wipe away all sanding dust with a tack cloth or a slightly damp cloth before applying another layer of paint, varnish, or sealant — dust left on the surface interferes with even adhesion of whatever goes on next, the same consideration that applies to sanding any other material before recoating.
6. What sanding acrylic paint can't fix
Sanding smooths texture and surface flaws, but it can't correct a color mistake or a structural adhesion problem underneath the paint — for those issues, addressing the actual root cause (repainting the color, or fixing whatever caused an adhesion failure in the first place) is necessary; sanding alone only addresses surface-level texture and smoothness.
Guides are researched against primary documentation and observable evidence. Archived material is rewritten, checked, and substantially improved before publication.